Transform Scratched Floors with a Simple Wax Routine
Scratches don’t just scuff the surface of a timber floor; they bruise your mood every time daylight rakes across them. Whether you’re staring at a handful of hairline marks or a busy constellation of scuffs, there’s a humane, low-dust remedy that restores warmth and character without the upheaval of a full sand and refinish: traditional floor wax. Applied properly, wax softens sharp edges, blends colour, and brings back that hand-rubbed lustre old houses seem to wear so effortlessly.
If Grief Over Scratches has you eyeing rugs or rearranging furniture to hide the worst bits, take heart. With modest tools, a free afternoon, and careful technique, you can lift the look of a tired floor dramatically—often in a single session. This guide explains when waxing is the right choice, how to prepare like a pro, which products to use, and the exact steps to “wax away the pain” safely and effectively.
Why Grief Over Scratches Happens—and Why Wax Helps
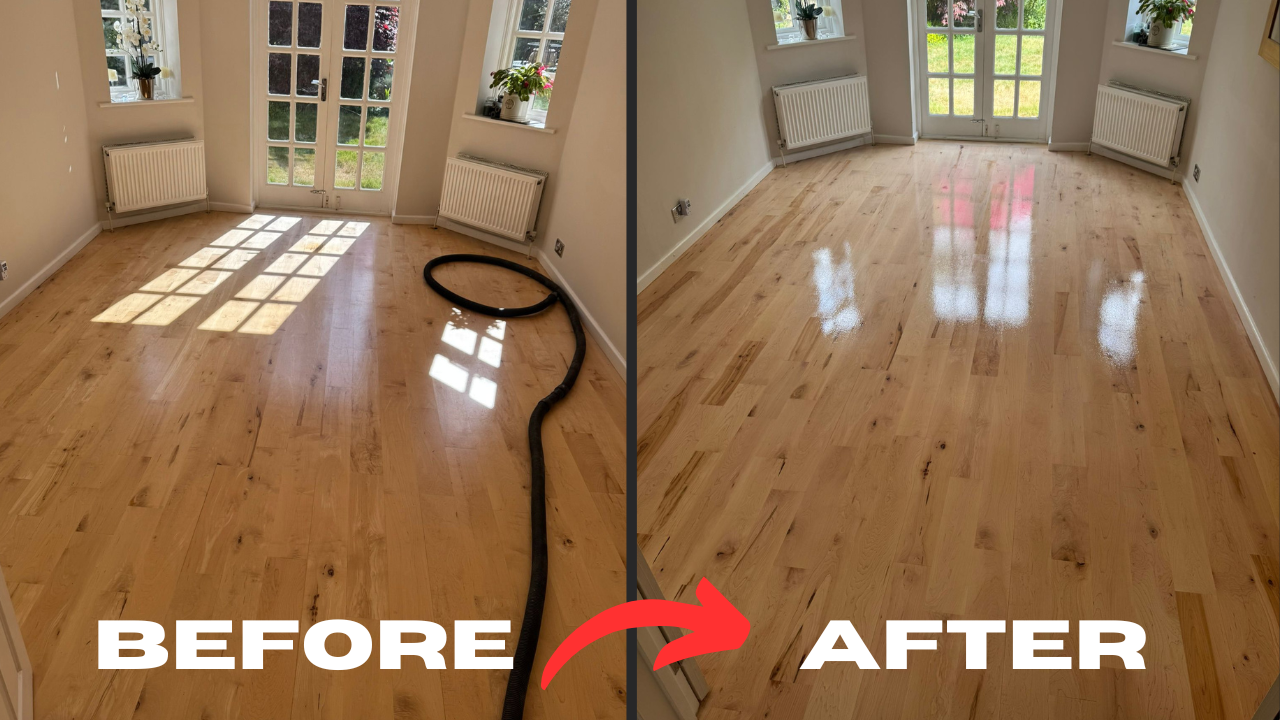
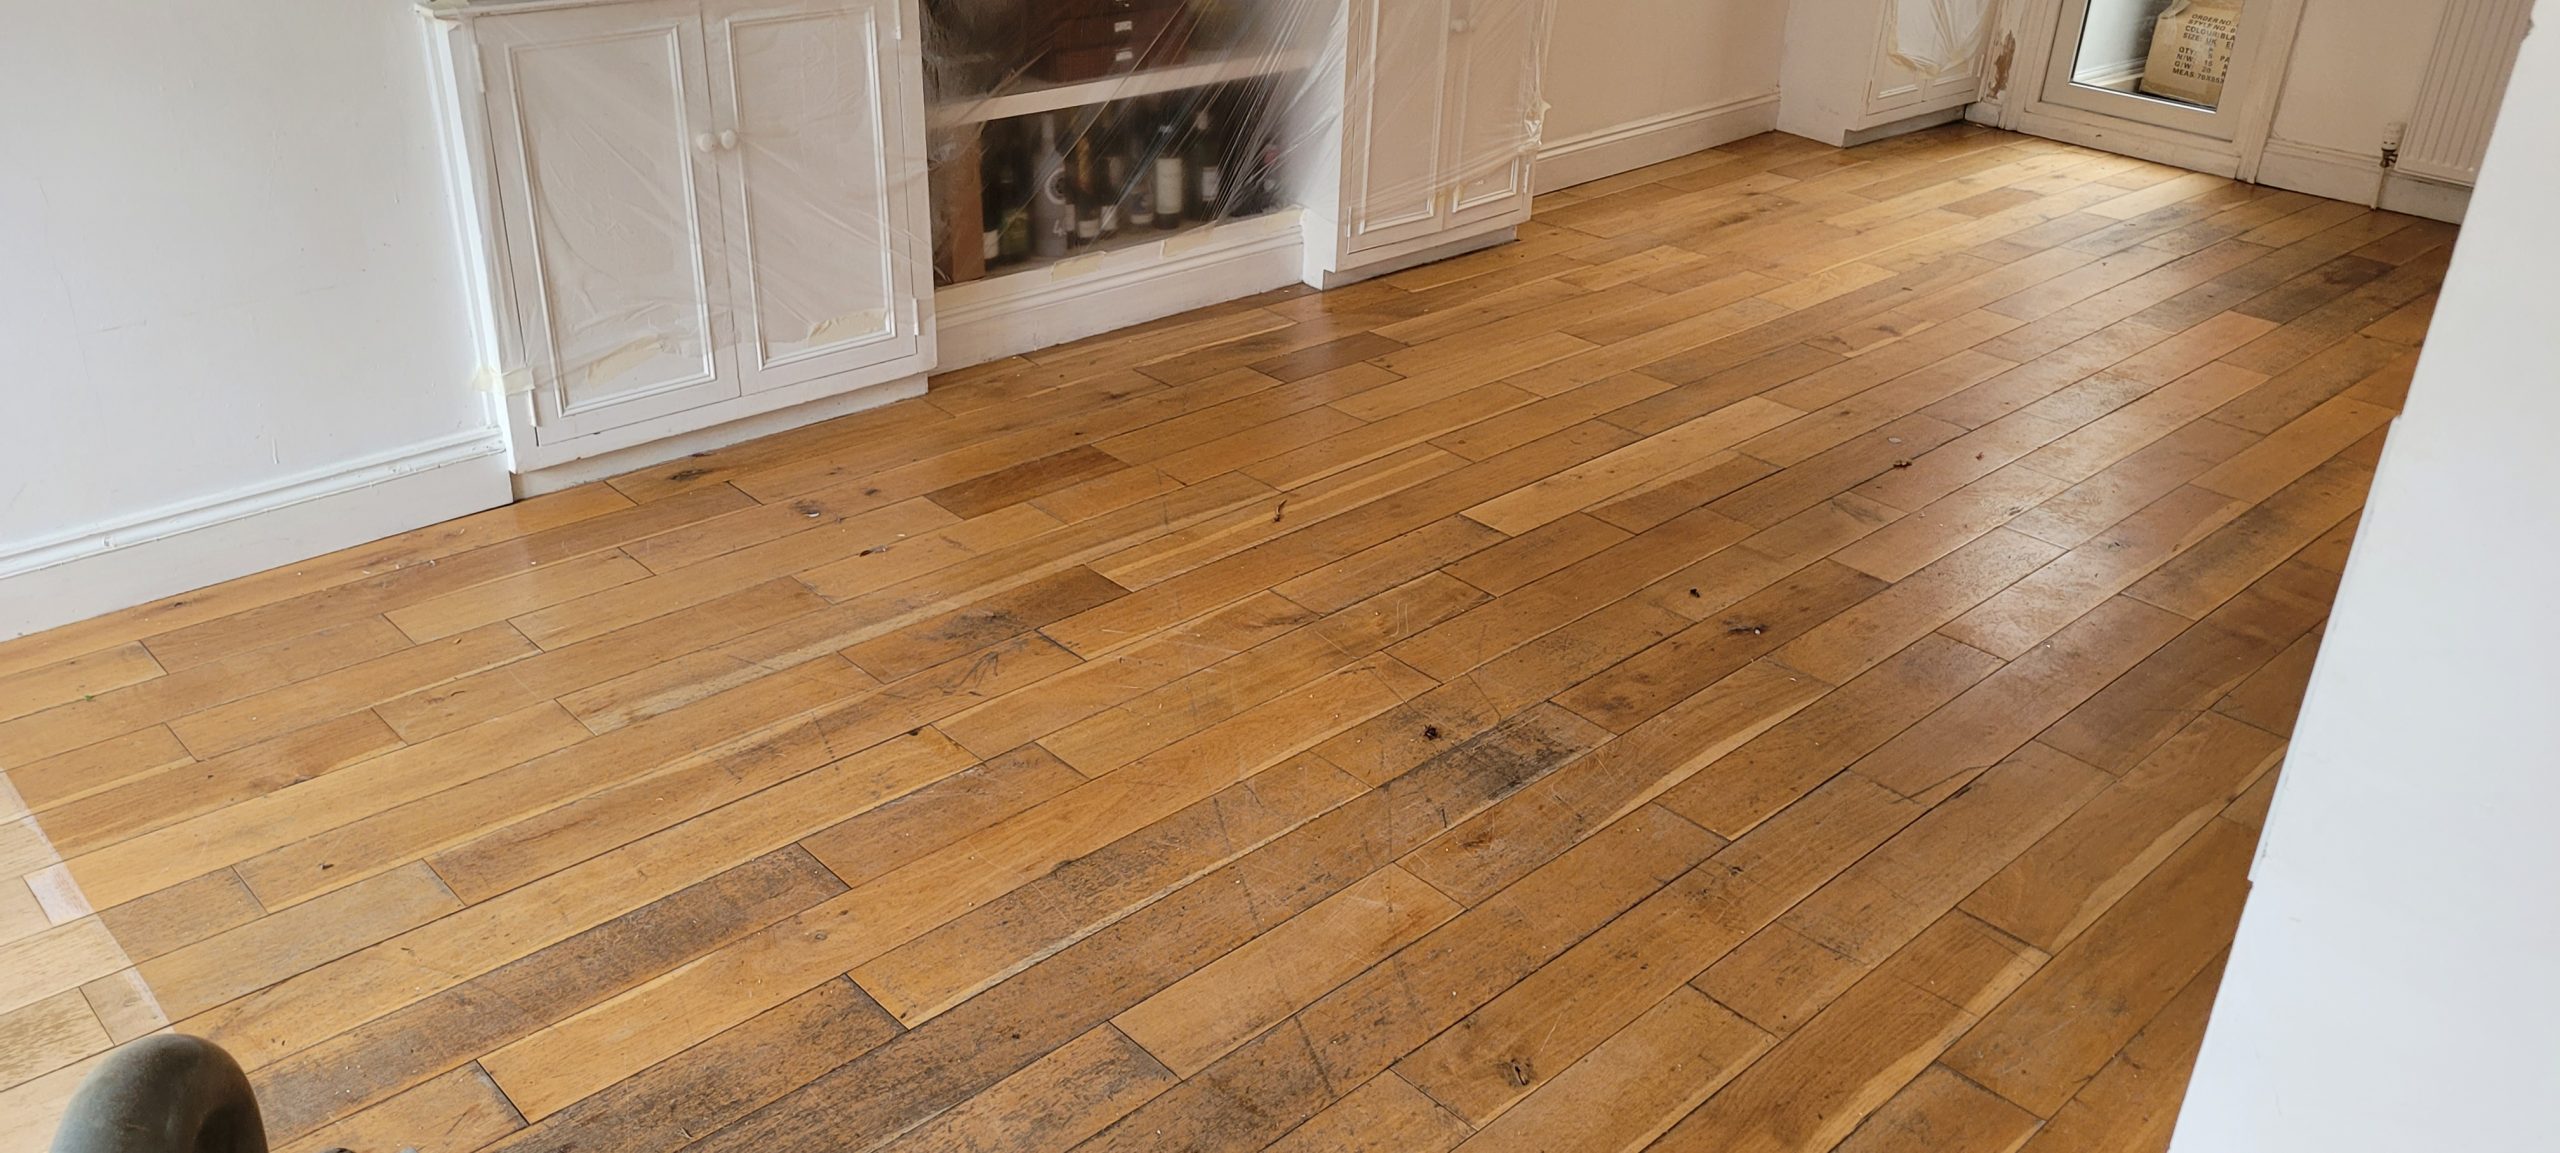
Scratches show because they alter how light reflects from the finish. A smooth, sealed surface throws light evenly; a scratch acts like a tiny canyon, catching dust and bouncing brightness in jagged ways your eye instantly notices. Two things determine how visible a mark will be:
- Depth: Surface scuffs disrupt the finish only. Deeper cuts breach the finish and disturb fibres below.
- Contrast: Pale timber with a darkened groove, or vice versa, stands out at a glance.
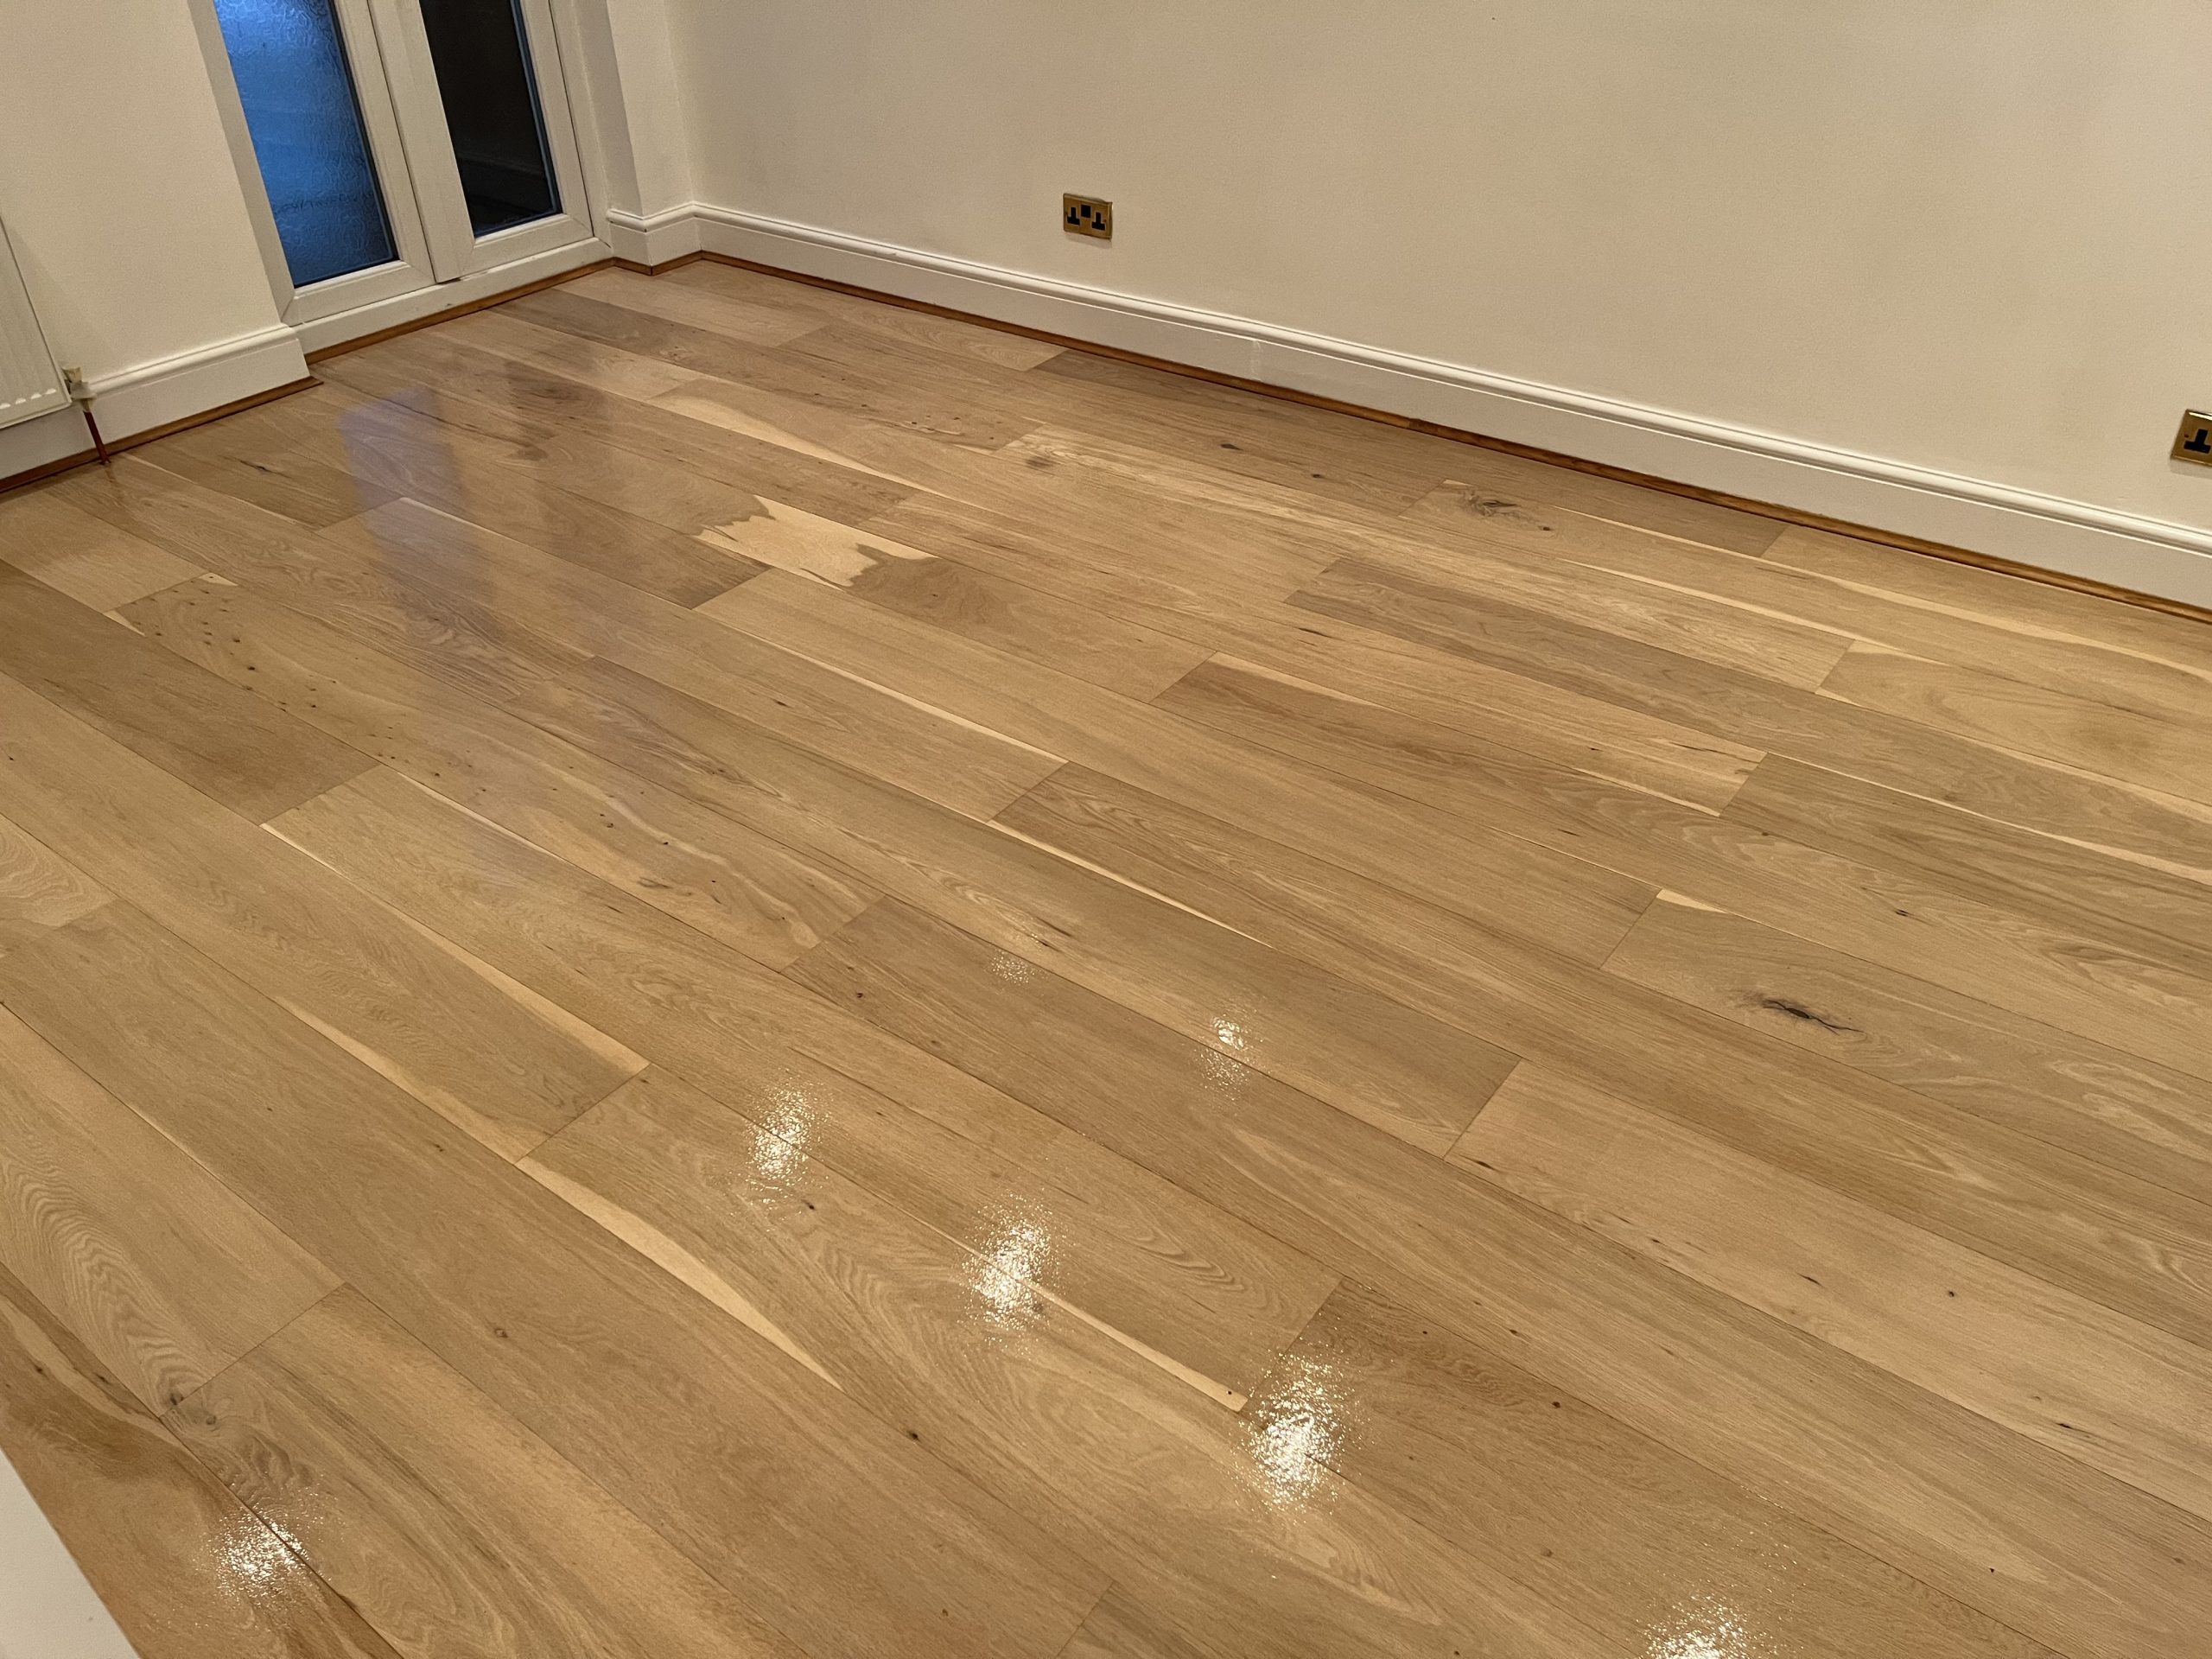
Wax is ideal for light to moderate scuffs on the finish layer because it fills micro-texture, evens reflectivity, and adds a low-gloss film that’s forgiving under raking light. Tinted formulations can also nudge colour towards the surrounding tone, disguising shallow marks without heavy sanding.
Important: Wax isn’t a miracle putty. Deep gouges or grey, worn traffic lanes often need localised repairs or a proper sand and refinish. The trick is knowing which is which—covered next.
Is Your Floor a Candidate for Wax?
Before you reach for a tin, confirm waxing is compatible with your existing finish and your future plans.
Good candidates
- Floors previously treated with wax, oil, shellac, or hardwax oil.
- Surfaces with micro-scratches, light scuffs, or a dull, dry look.
- Homeowners seeking a warmer, heritage sheen rather than a high-build, plastic-like gloss.
Proceed with caution (or choose another remedy)
- Modern polyurethane / two-pack lacquer finishes. Wax can interfere with future recoating adhesion. If you intend to re-lacquer later, avoid wax.
- Heavy damage: dark wear patches, deep dents that catch a fingernail, water whitening, or lifted edges—these are better solved with repairs or sanding.
Simple at-home checks
- Water bead test: a drop that beads and stays suggests an intact film finish (often lacquer/poly). If it slowly darkens the timber, you likely have oil/wax—waxing is more appropriate.
- Solvent wipe test (on an inconspicuous spot): a little white spirit on a cloth that lifts slight colour/soil indicates a breathable, maintainable finish (oil/wax). If nothing moves and the surface feels glassy, it’s likely a hard film.
When in doubt, pick a discrete area (inside a cupboard kick, behind a door), try the full process, and live with it for a few days.
Choosing the Right Wax (and Colour)
You’ll see three broad options on the shelf:
- Paste wax (traditional): A dense blend you rub in sparingly, then buff. Delivers a classic, hand-wiped sheen and the best scratch-softening for small marks.
- Liquid wax / polish: Easier to spread thinly, useful for large rooms, but typically leaves a lighter film per coat.
- Hardwax oil: Technically not a pure wax; it’s a penetrating oil fortified with waxes that cure hard. Brilliant for thirsty, bare or previously oiled floors and offers more durable protection than a simple wax top-up.
Clear vs tinted
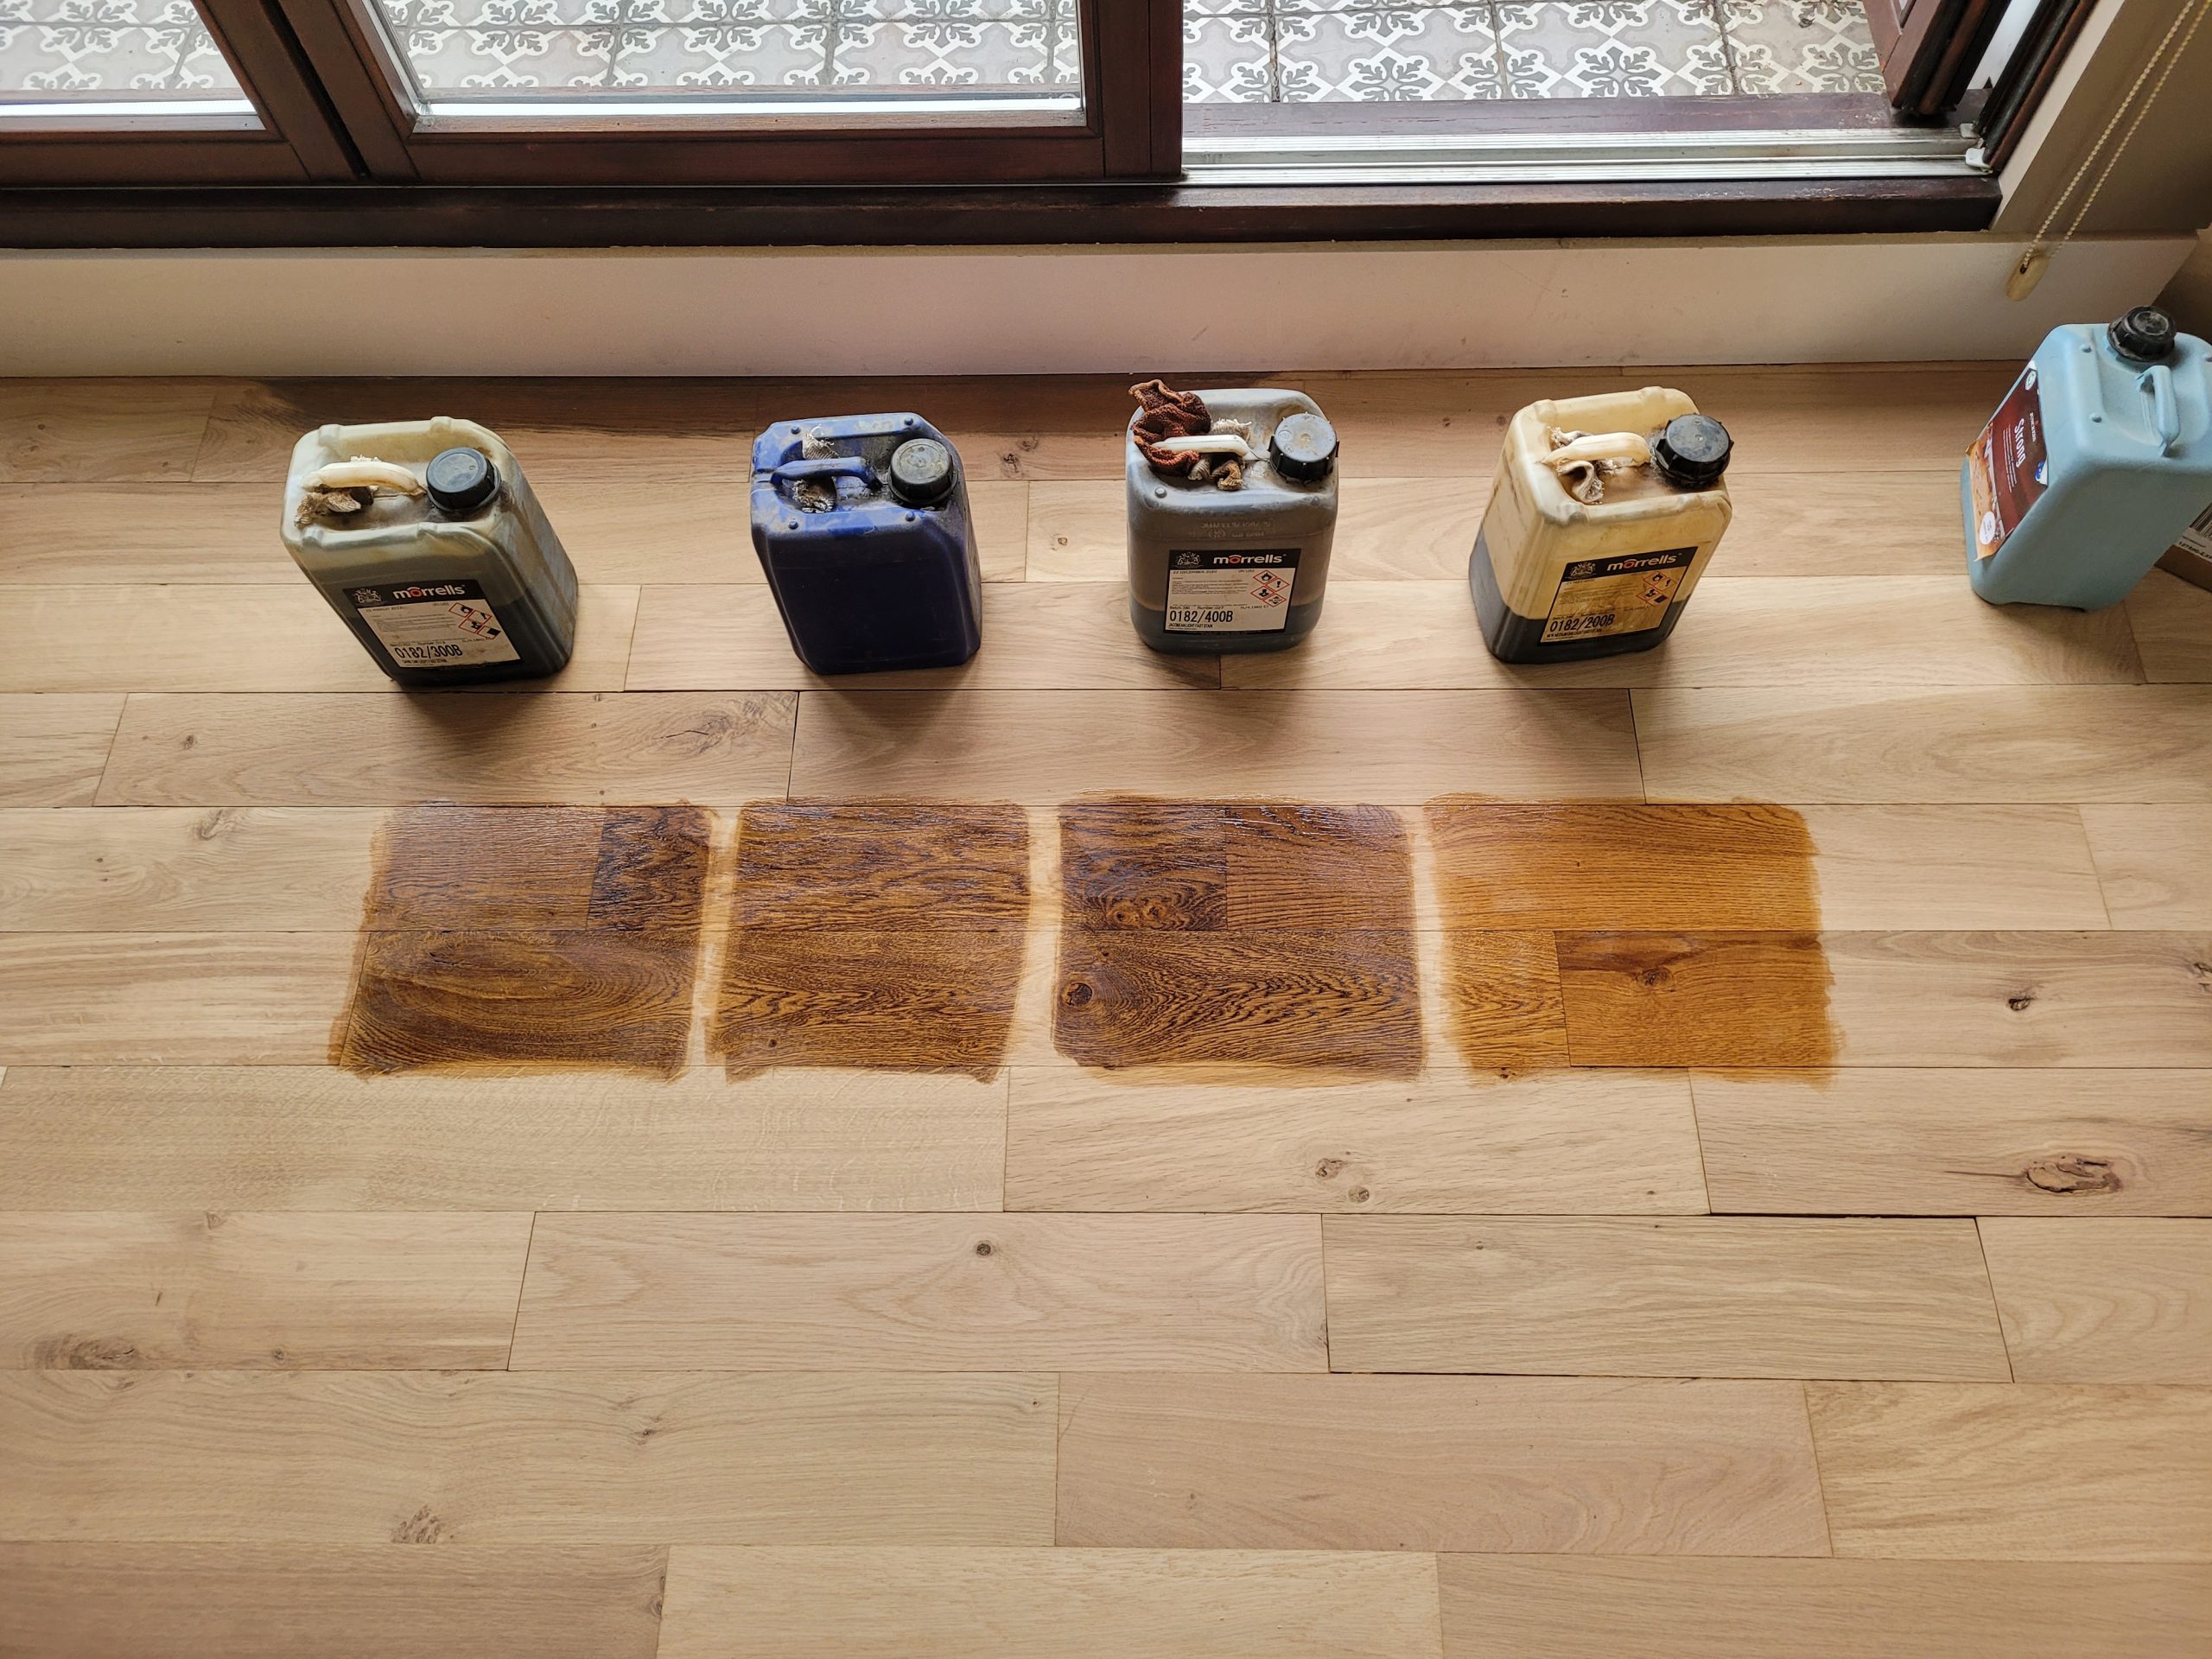
Clear wax lifts sheen without shifting colour. Tinted waxes (oak, walnut, mahogany tones) help blend shallow scratch lines by darkening the exposed fibre just enough to reduce contrast. If in doubt, start clear; you can always touch selected lines with a compatible tint and re-buff.
Prepare Like a Professional
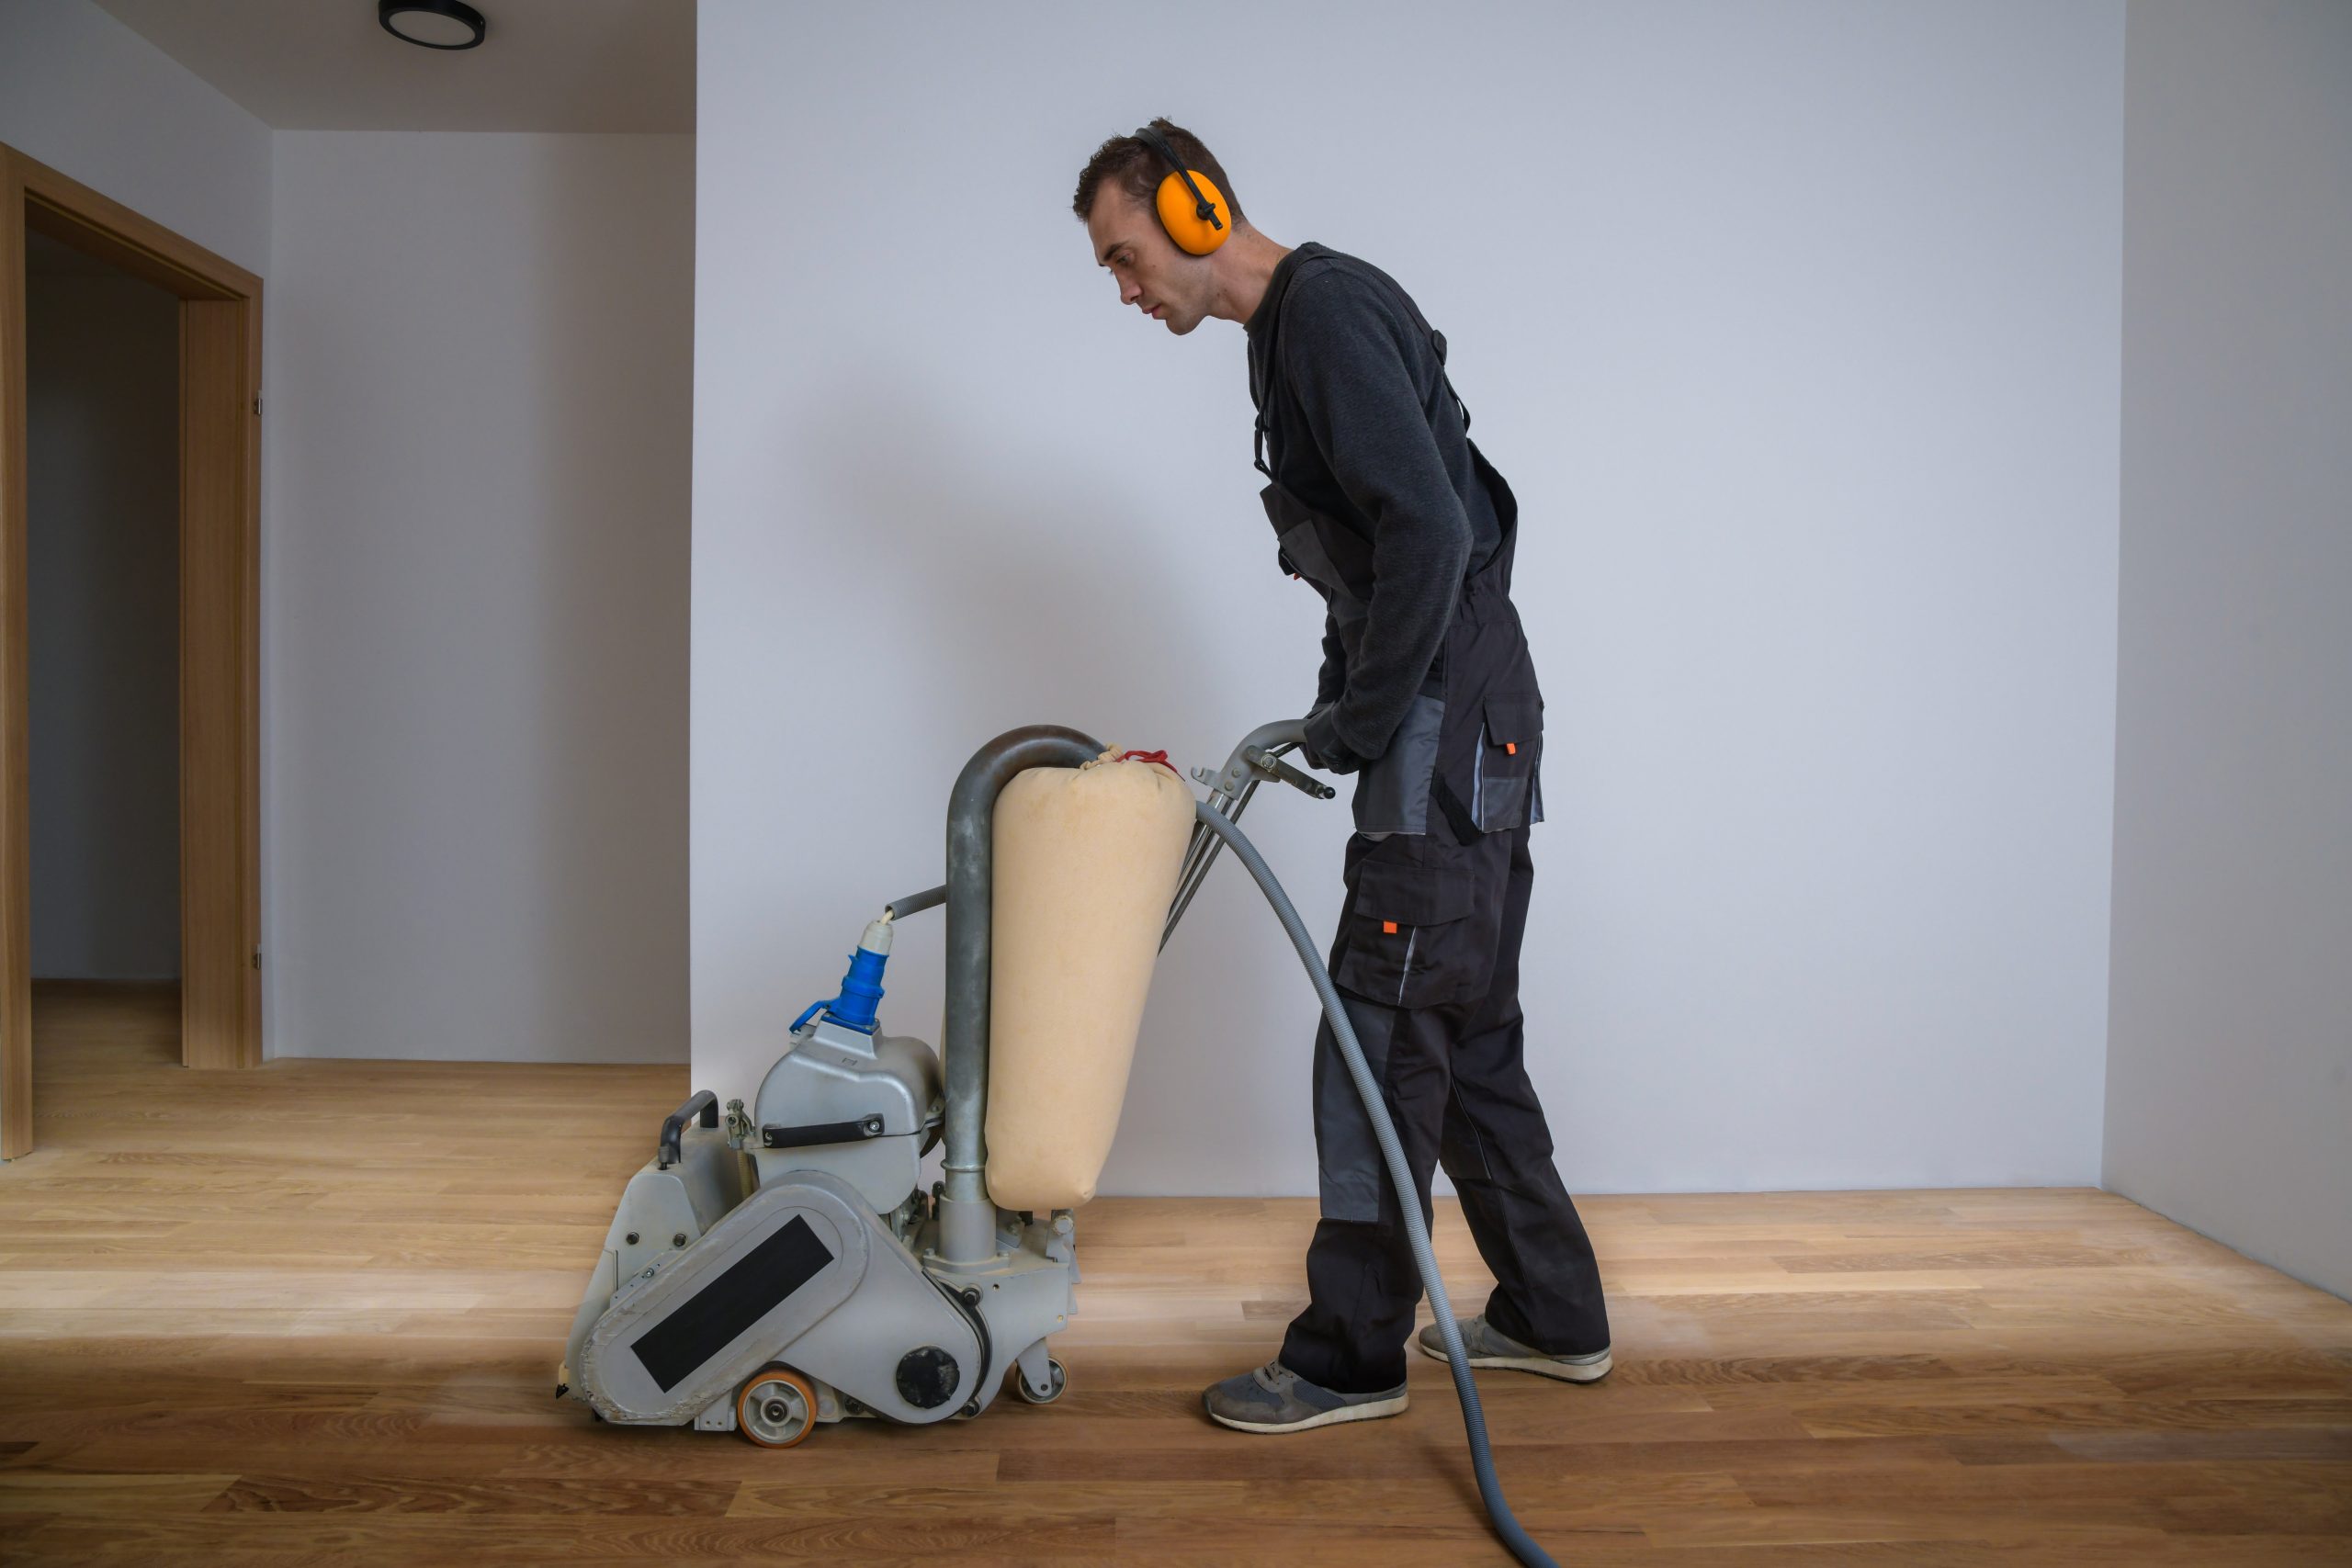
Wax rewards prep. Rushing here is how smears, streaks, or patchy gloss appear.
- Declutter and dust
Move lightweight furniture, lift mats, and vacuum thoroughly (edges and between boards). Micro-grit trapped under a cloth becomes sandpaper. - Wash, don’t soak
Use a wood-safe, neutral cleaner on a barely damp microfibre mop. Avoid steamy mops or anything “multi-surface” with silicone—residues fight new finishes. - De-nib lightly (if needed)
On areas with micro-roughness, use a maroon or grey pad or worn 320–400 grit paper. A few gentle passes along the grain is enough to key the surface. Vacuum again. - Patch test
In a hidden corner, apply a coin-sized dab of wax, allow it to haze, then buff. Assess sheen, slip, and colour in daylight before committing. - Ventilation and safety
Open windows for air flow. Keep rags flat to dry before disposal to reduce any fire risk with oil-containing products.
“Wax Away the Pain”: A Step-by-Step Method That Works
Tools checklist
- Paste or liquid wax (clear, or a carefully chosen tint)
- Lint-free cotton cloths (old T-shirts are perfect)
- White buffing pad and/or microfibre bonnet
- Knee pads, nitrile gloves, and a low stool (comfort matters)
- A small plastic spreader (for pushing wax into fine lines)
1) Less is more—apply thinly
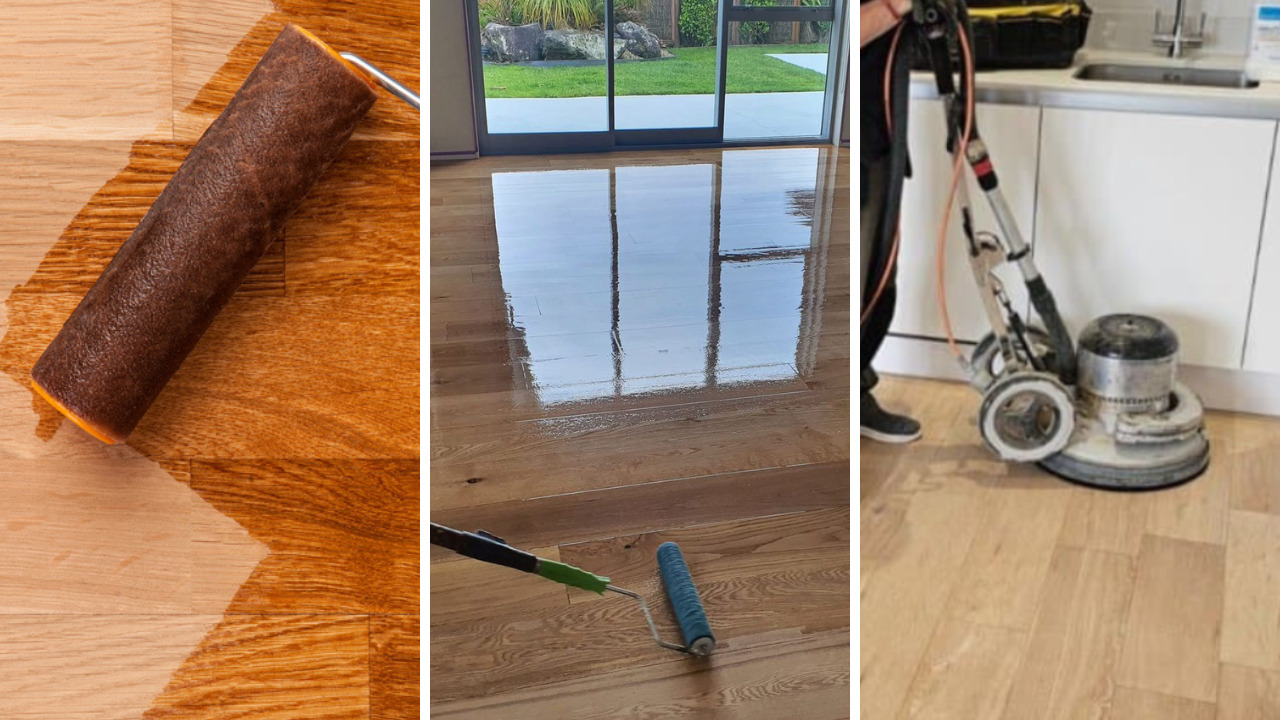
Scoop a fingertip of paste wax or drizzle a light line of liquid wax. Work with the grain in small sections (about 1–2 m²). Aim for a translucent film, not frosting.
2) Feed the scratch
Where you can see a light line, massage a touch more wax directly into it. If using a tint, feather the edges so there’s no obvious halo.
3) Let it haze
Wait a few minutes (longer if the room is cool). The film will look dull and slightly opaque—this is your cue.
4) Buff to evenness
Start with a folded cotton cloth, then graduate to a white pad or a microfibre bonnet under a slow-speed buffer if you have one. You’re not trying to polish a car bonnet to mirror gloss, just to even the sheen so light reads consistently across the board.
5) Step back and cross-light
Change your viewing angle. If a section reads streaky, you’ve either used too much product or buffed unevenly. Add a tiny extra dab where dull and buff again. Patience beats pressure.
6) Layer if needed
On very dry floors, a second thin coat later in the day will even things beautifully. Keep each layer light, allowing a short haze time and a thorough buff.
By the end of a careful pass, you’ll have turned Grief Over Scratches into quiet pride and a richer, more settled sheen.
Colour-Blending Tricks for Tricky Lines
Some lines insist on being noticed. Here are gentle ways to nudge them into the background without heavy sanding:
- Wax first, then tone: After a clear-wax buff, touch a stubborn pale line with a wax-compatible tint (pencil, crayon, or stain marker in the right family). Wipe immediately, so only the groove retains colour. Re-wax that strip and buff.
- Feather, don’t frame: Keep any toning inside the scratch. Colour spread beyond the line creates a visible “frame” in daylight.
- Work from light to dark: It’s easier to deepen tone incrementally than to lighten an over-darkened line.
Common Mistakes (and How to Avoid Them)
- Over-application: Thick wax films smudge, attract dirt, and take ages to buff. Thin layers bond better and look cleaner.
- Silicone residues: Past polishes can sabotage adhesion. If you suspect them, wash twice with a wood-safe cleaner and de-nib lightly before waxing.
- Skipping the patch test: Lighting and timber species vary. Always test.
- Waxing the wrong finish: If you’re on a modern lacquer you plan to re-coat, switch to a lacquer-safe scratch fix rather than wax.
- Under-buffing: Haze left on the surface telegraphs as smear marks. Buff until a consistent glow emerges.
- Rushing traffic back: Give freshly waxed areas a little time—shoes on too soon will track the film.
Maintenance After Waxing: Keep the Glow
Waxed floors are wonderfully maintainable if you stick to a simple rhythm:
Daily / Weekly
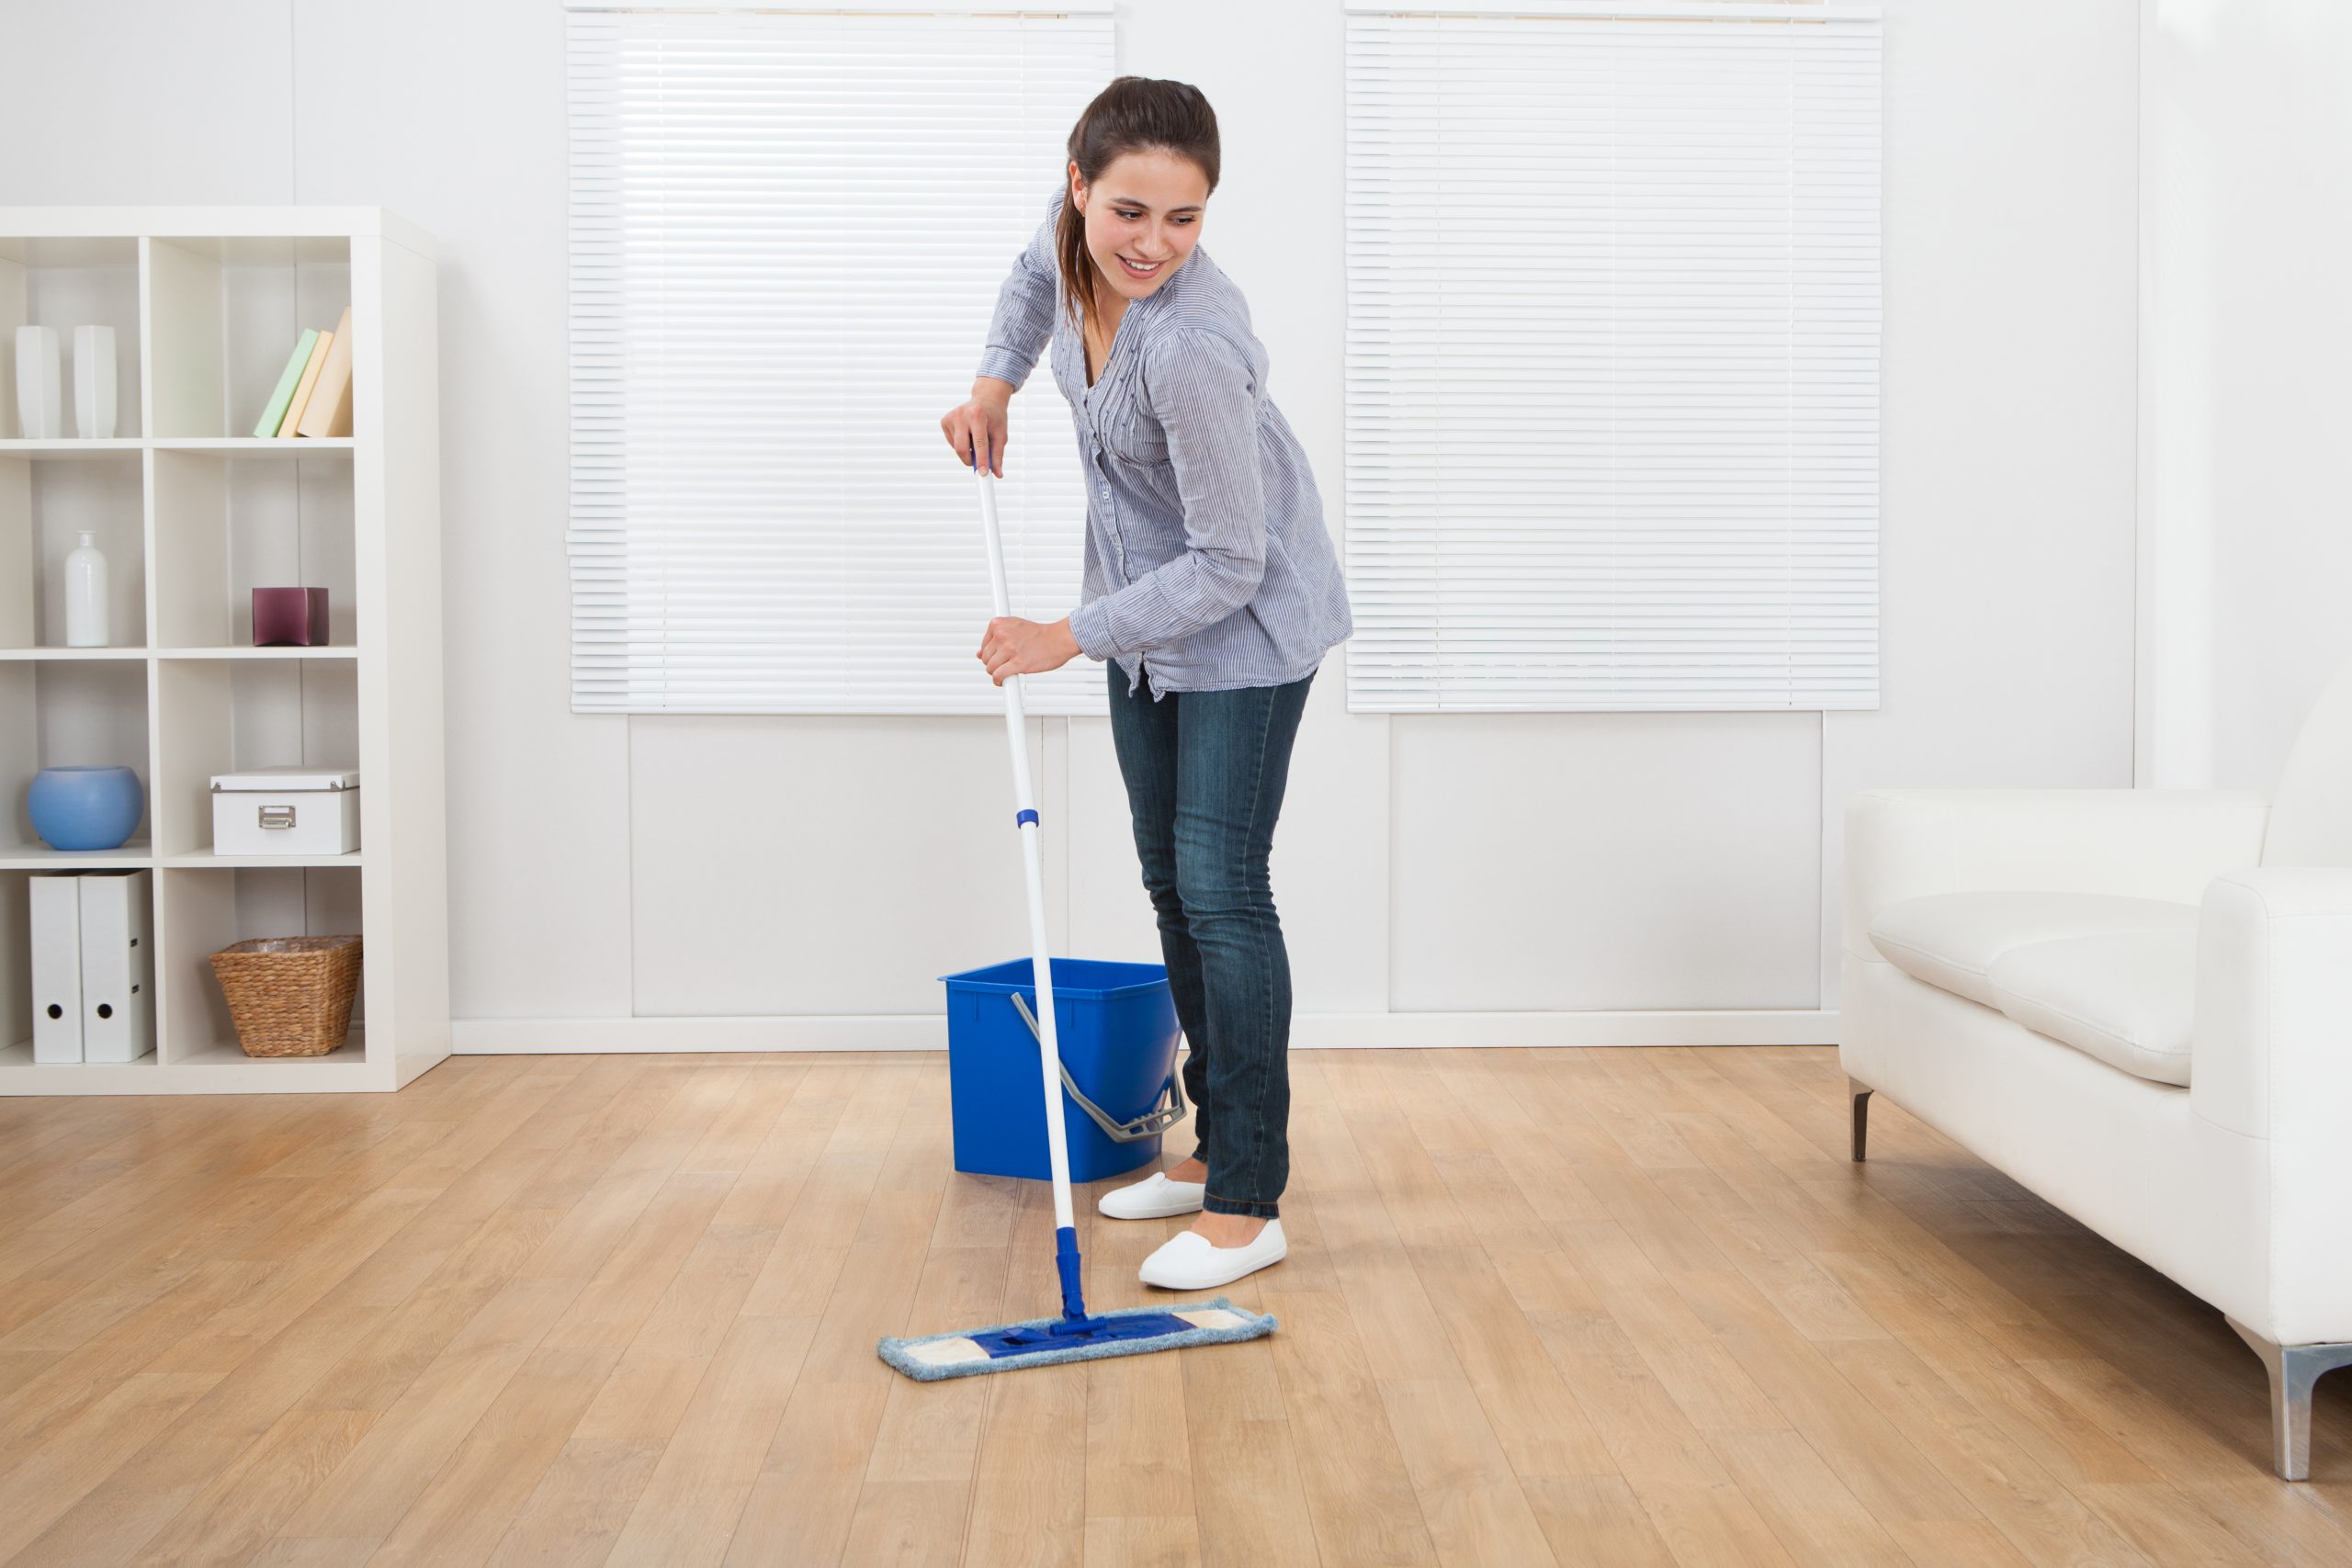
- Dry dust with a microfibre pad or vacuum with a soft brush. Grit is the enemy.
- Spot-clean spills promptly; avoid standing water.
Monthly
- Lightly buff traffic zones with a white pad to lift the shine and even micro-scuffs.
Quarterly (or when dull)
- Apply a very thin refresher coat to high-traffic lanes and buff well.
Always
- Felt pads under furniture, mats at entrances, and shoes off when practical.
- Keep indoor humidity roughly 40–60% to minimise seasonal movement and hairline openings that catch dirt.
Benefits Beyond Camouflage
Wax offers several advantages that explain why people wrestling with Grief Over Scratches so often reach for it first:
- Characterful sheen: A silky, hand-rubbed look that flat, plasticky films can’t replicate.
- Tactile warmth: Barefoot comfort improves; the floor feels less “glassy.”
- Re-treatable surface: Unlike heavy film finishes that demand full sanding once broken, wax can be spot-refreshed as life happens.
- Low disruption: No sanding dust storms, no days of cure time, minimal odour with many modern options.
When Wax Isn’t Enough
Be candid with yourself: some floors need more than a courtesy polish.
- Deep gouges and crushed fibres: Localised wood filler (colour-matched) or a professional repair may be required.
- Grey traffic lanes: These are areas where the finish has worn through and dirt has oxidised the fibres. A proper sand and refinish is the honest cure.
- Finish failures: Peeling, whitening from moisture, or widespread flaking indicate bond issues; wax won’t fix the root cause.
If you reach this point, consider a dust-controlled sand and a durable, maintainable finish system (hardwax oil for warmth and repairability, or a commercial-grade waterborne lacquer for clarity and toughness). The key is choosing a pathway that suits your household’s traffic, taste, and tolerance for future maintenance.
A Quick Case Study: From Scuffed to Serene
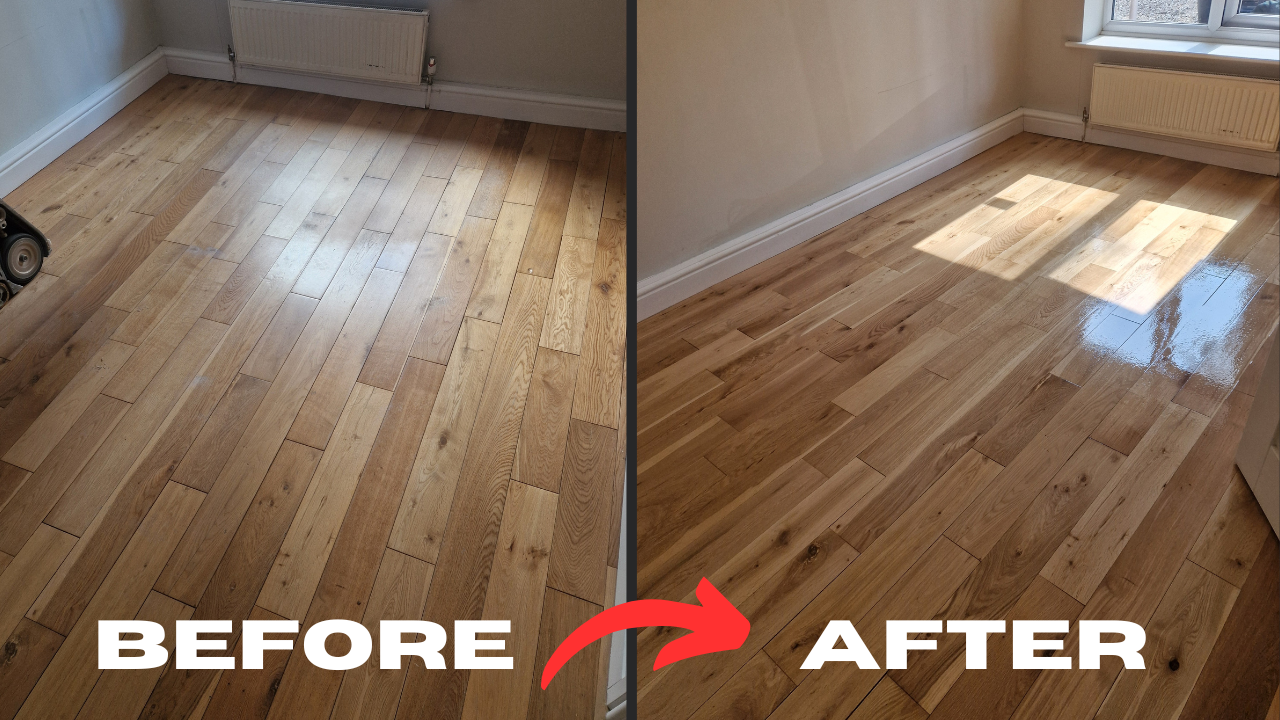
A 1930s oak floor in a busy hallway had dozens of pale lines catching the morning sun. The homeowners wanted a lift without sanding (stairs, prams, and a dog made downtime difficult).
What we did
- Deep clean and a light de-nib to knock back nibs and lift embedded dirt.
- A clear paste wax applied thinly, with a touch of medium-oak tint wicked into three obvious pale lines near the doorway.
- Thorough buff with cotton, then a white pad for uniformity.
Result
- The sharpest lines visually receded by about 80–90%.
- Overall sheen moved from dull to quietly radiant.
- The hallway looked “cared for” rather than “newly finished”—exactly their brief.
Time on site: half a day. Tools packed away before school pick-up.
FAQs
Will wax make my floors slippery?
Applied thinly and buffed properly, wax leaves a satiny, walkable surface. Over-application creates smearing and slip; the remedy is more buffing or a very light de-wax and re-coat thinly.
How long does a wax refresh last?
Traffic and cleaning habits vary, but high-use lanes often look their best with a quarterly light refresh. Rooms with soft use can go much longer.
Can I lacquer over wax later?
Not directly. Wax must be thoroughly removed and the surface abraded before a film finish will bond. If you think a future lacquer is likely, hold off on wax and use lacquer-safe scratch fixes instead.
Is hardwax oil a better choice than paste wax?
They solve slightly different problems. Hardwax oil is excellent when a floor is dry and thirsty or after sanding; paste wax excels at softening the look of light scuffs on a serviceable surface.
What about pets and pushchairs?
Add felt pads to anything that slides, keep claws trimmed, and place a hard-wearing runner near entrances. A quick monthly buff takes care of micro-scratches from busy family life.
The Mindset That Makes Waxing Work
Think of waxing less as hiding flaws and more as re-harmonising how light plays across your floor. You’re blending micro-topography, not painting over character. That philosophy leads naturally to thin coats, careful buffing, and selective colour work—habits that produce a handsome, well-kept look with minimal fuss.
If you’re a perfectionist, remember: older floors earn their patina. The goal isn’t laboratory perfection but a lived-in elegance where nothing shouts for attention. Wax, sensibly used, is the quickest way to dial down visual noise and dial up warmth.
Final Thoughts
If you’re ready to swap frustration for glow, assemble your kit, pick a quiet afternoon, and tackle one room. Start with the patch test, keep coats whisper-thin, and buff until the haze melts into an even, silky calm. In a few hours you’ll walk back in, notice the light behaving itself again, and wonder why you waited so long.
Ready to leave Grief Over Scratches behind? A careful wax refresh may be all your floor needs to look loved again. If, after a fair go, stubborn areas still nag at you, that’s simply your floor telling you it wants a deeper intervention—repairs, targeted sanding, or a new finish. Either way, you’re closer to the warm, quietly beautiful surface you had in mind when you chose timber in the first place.