Parquet Floor Sanding: The Complete Guide to Dust-Free Sanding
Parquet has a special kind of charm. Whether it’s herringbone, chevron, mosaic blocks or classic finger parquet, it brings warmth, pattern and character that carpets simply can’t match. But parquet also has a habit of showing its age: dulled finish, ingrained dirt between blocks, scratches that catch the light, and that “patchy” look where old coatings have worn unevenly.
The good news is this: parquet floor sanding done properly can make an old floor look beautifully crisp again—smooth underfoot, even in colour, and sealed with a finish that suits your home and your lifestyle. The better news? Modern methods make it possible to achieve a dust-free (or near dust-free) result, without your whole house feeling like a building site.
This guide walks you through the process step by step—from prep and sanding to filling, finishing and aftercare—so you know exactly what “good” looks like, and how to get it.
If you’d rather skip straight to professional help, you can book an assessment and quote here: Get a Quote or browse real transformations in the Gallery.
Why parquet needs a different approach to sanding
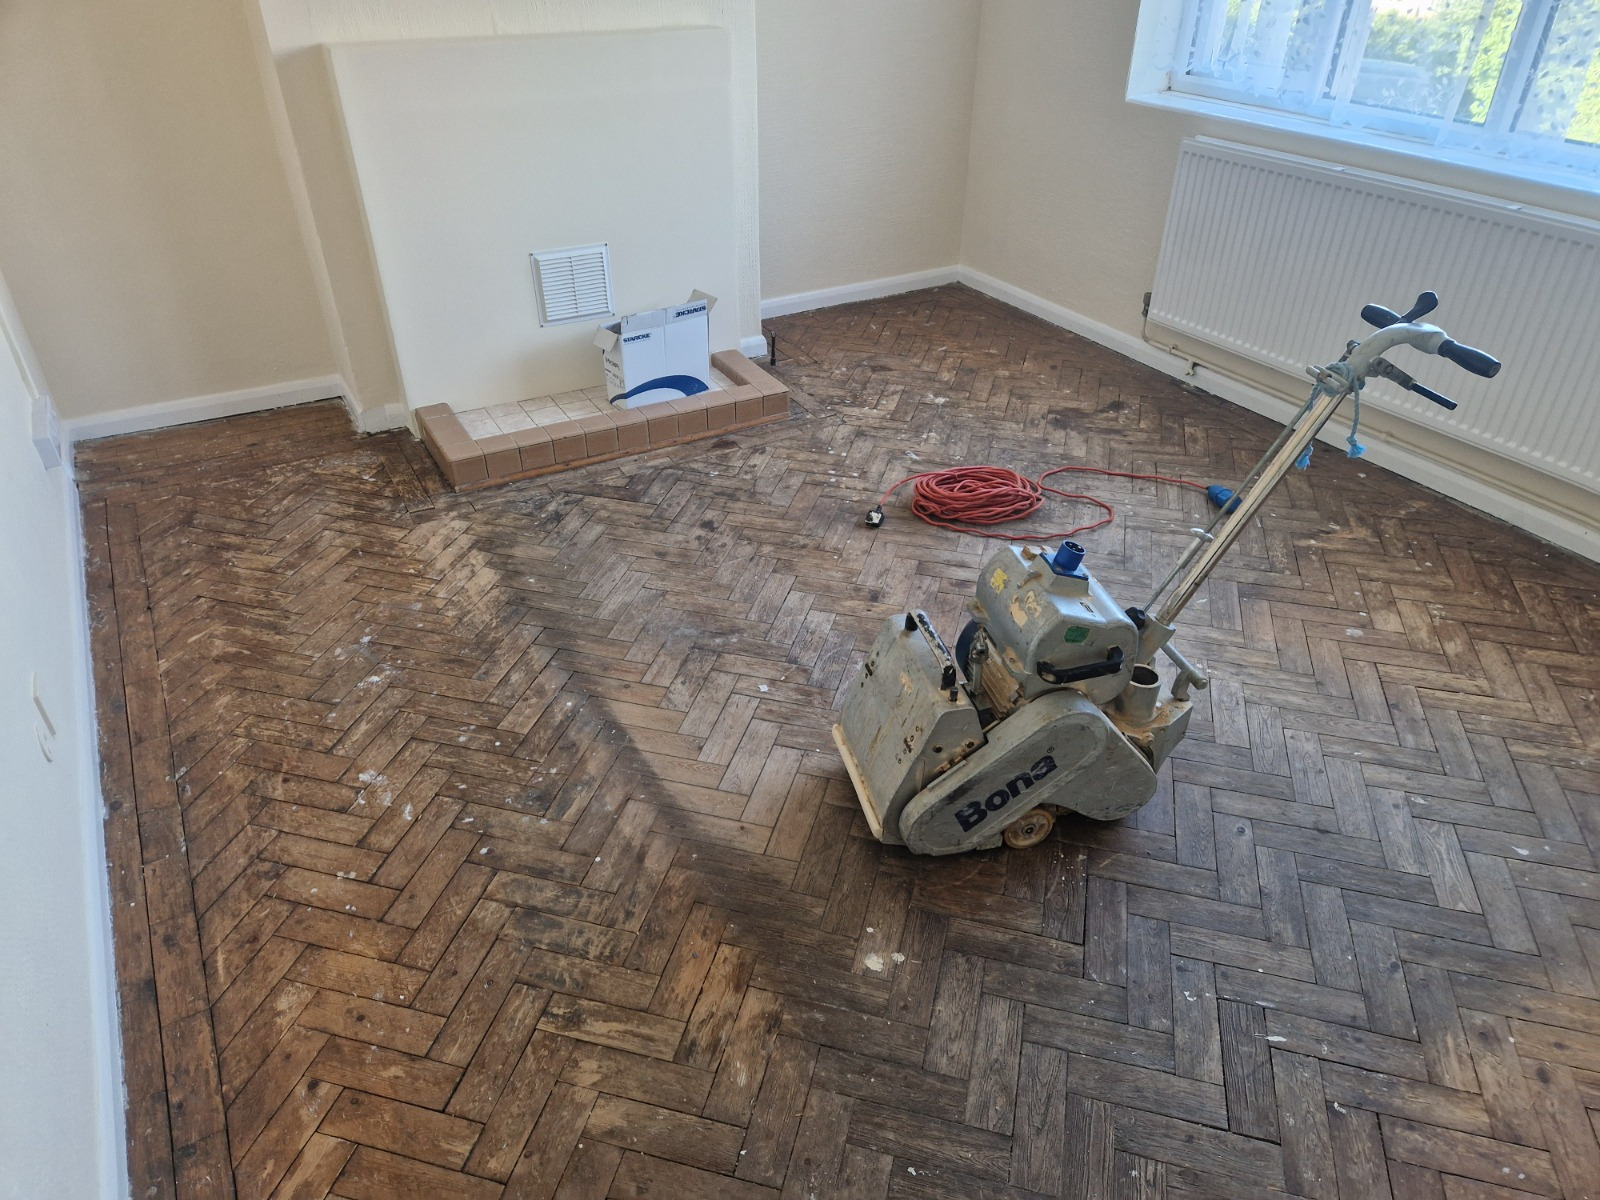
Parquet isn’t one big flat plank. It’s a surface built from many small pieces. That means:
- More grain direction changes (especially in herringbone/chevron)
- More edges, which can catch and splinter if sanded too aggressively
- More movement points, where small gaps and tiny height differences appear over time
- More risk of “dish-out” (over-sanding softer sections and leaving shallow ripples)
To get a truly smooth finish, the key is controlled sanding, correct grit progression, and finishing choices that suit parquet’s texture and daily wear.
Step 1: Decide whether your parquet is ready to sand
Before any machine comes out, confirm your parquet is a candidate for sanding.
You can usually sand if:
- The blocks are solid wood (common in older UK homes)
- The floor feels stable (no widespread bouncing or loose blocks)
- The finish is worn, scratched, or patchy—but the wood underneath is sound
You may need repairs first if:
- Blocks are lifting or rocking
- There are missing blocks or visible adhesive failure
- You see dark staining that has soaked deep into the wood
- The floor has been sanded repeatedly and blocks are already thin
If you’re unsure, it’s worth getting a professional look—repairs and re-securing are often quick when caught early. Start with Request a Callback and describe what you’re seeing.
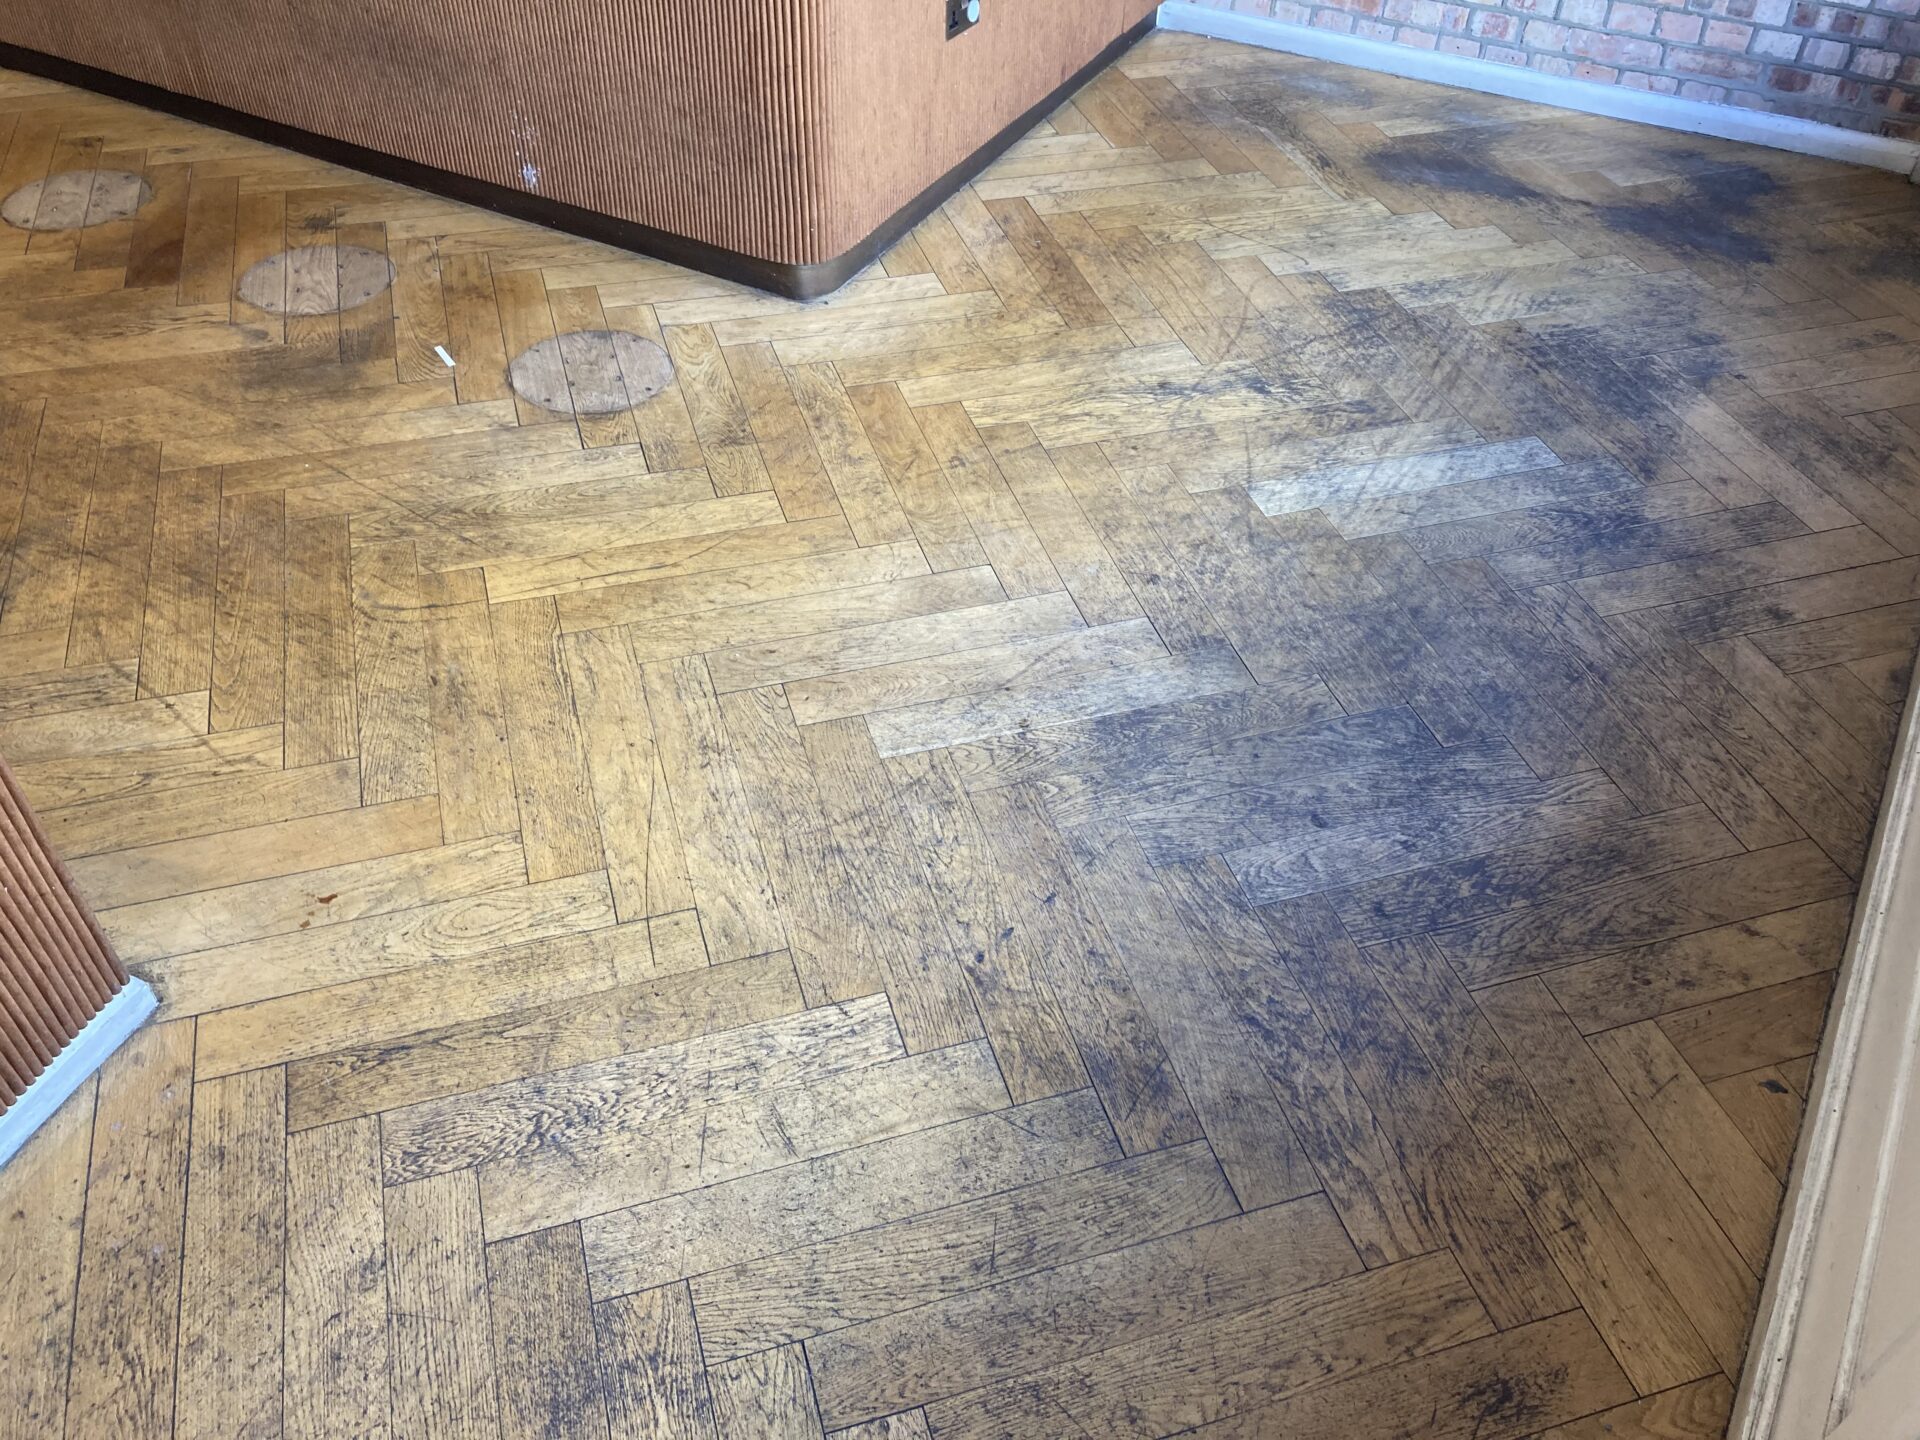
Step 2: Prep the room like a pro (this is where “dust-free” starts)
A dust-free result is less about luck and more about preparation.
Clear and protect
- Remove furniture, rugs and curtains (dust clings to fabric).
- Lift door thresholds if possible—these often hide unfinished edges.
- Seal internal doors with masking tape or use temporary plastic sheeting.
- Cover vents and fireplaces (fine dust loves airflow).
Check for hazards
- Protruding nails or old carpet gripper pins must be removed or punched below the surface.
- Loose blocks should be re-bonded before sanding.
- Old bitumen adhesive (common under parquet) may need specialist handling if exposed.
Vacuum thoroughly
Grit and debris can create swirl marks, even with good machinery.
If you want a team that handles the full process—from prep to final coat—see Wood Floor Sanding and Floor Sanding Prices for an idea of cost factors.

Step 3: Choose the right sanding system (belt + edging + finishing passes)
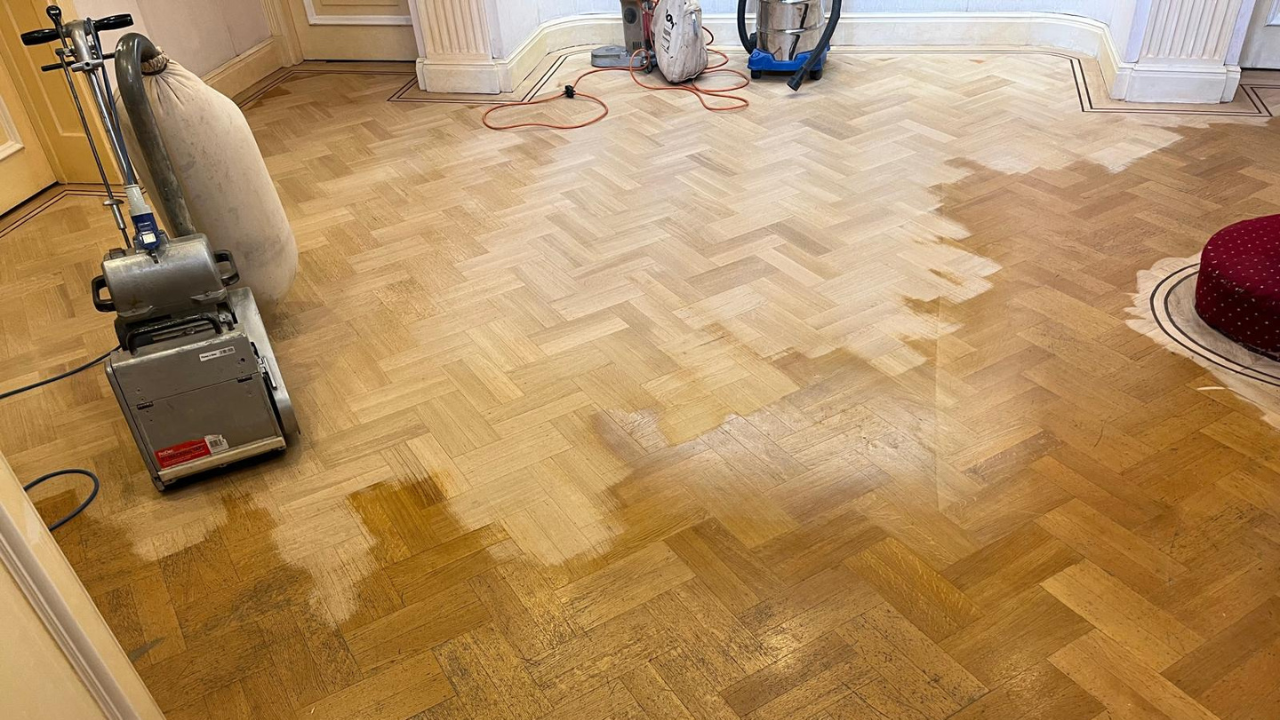
For parquet floor sanding, the best results come from a structured approach:
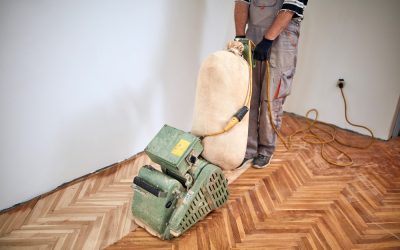
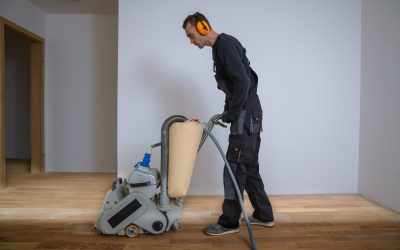
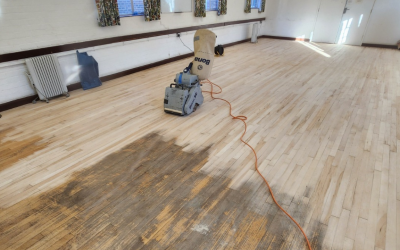
1) Main sanding machine (belt or drum)
This levels the overall surface and removes old finish.
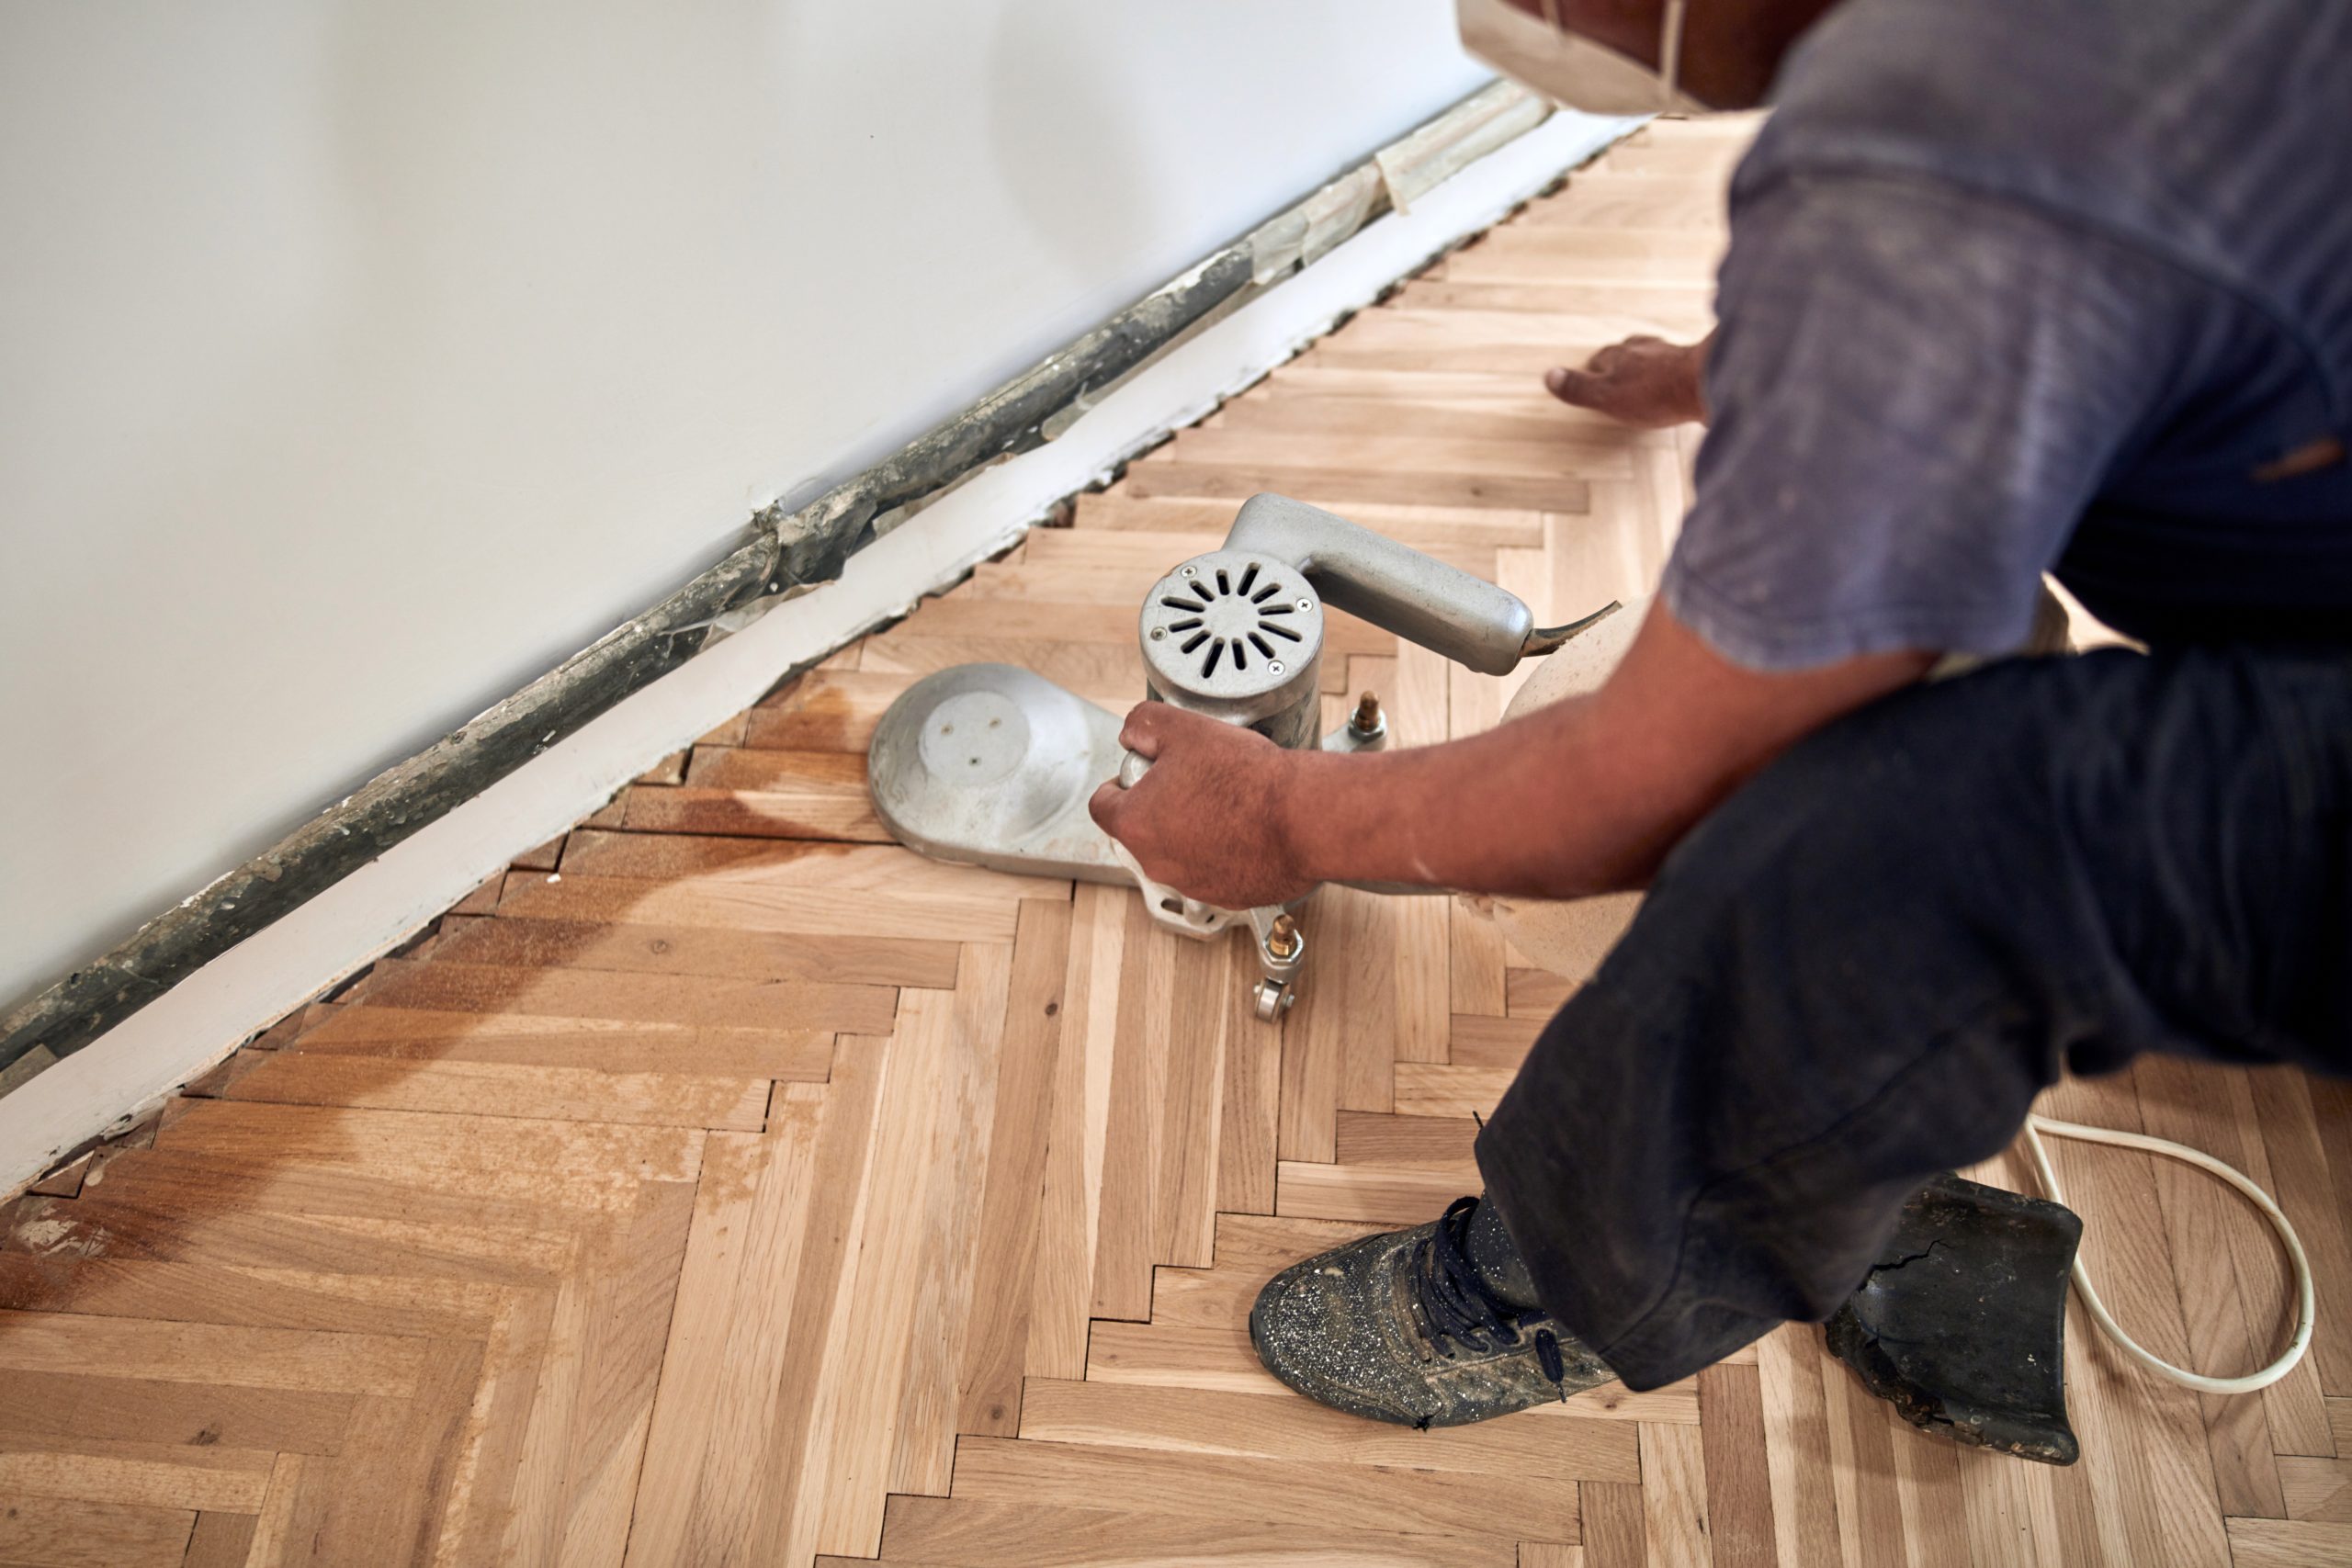
2) Edging sander
This handles perimeters and under radiators where the main machine can’t reach.
3) Buffer / rotary finishing machine
This blends the field and edges, refines the scratch pattern, and sets you up for a flawless finish.
A “smooth” floor is largely about the final scratch pattern. If you can see sanding marks before finishing, they’ll usually look worse after the first coat. That’s why the finishing passes matter.
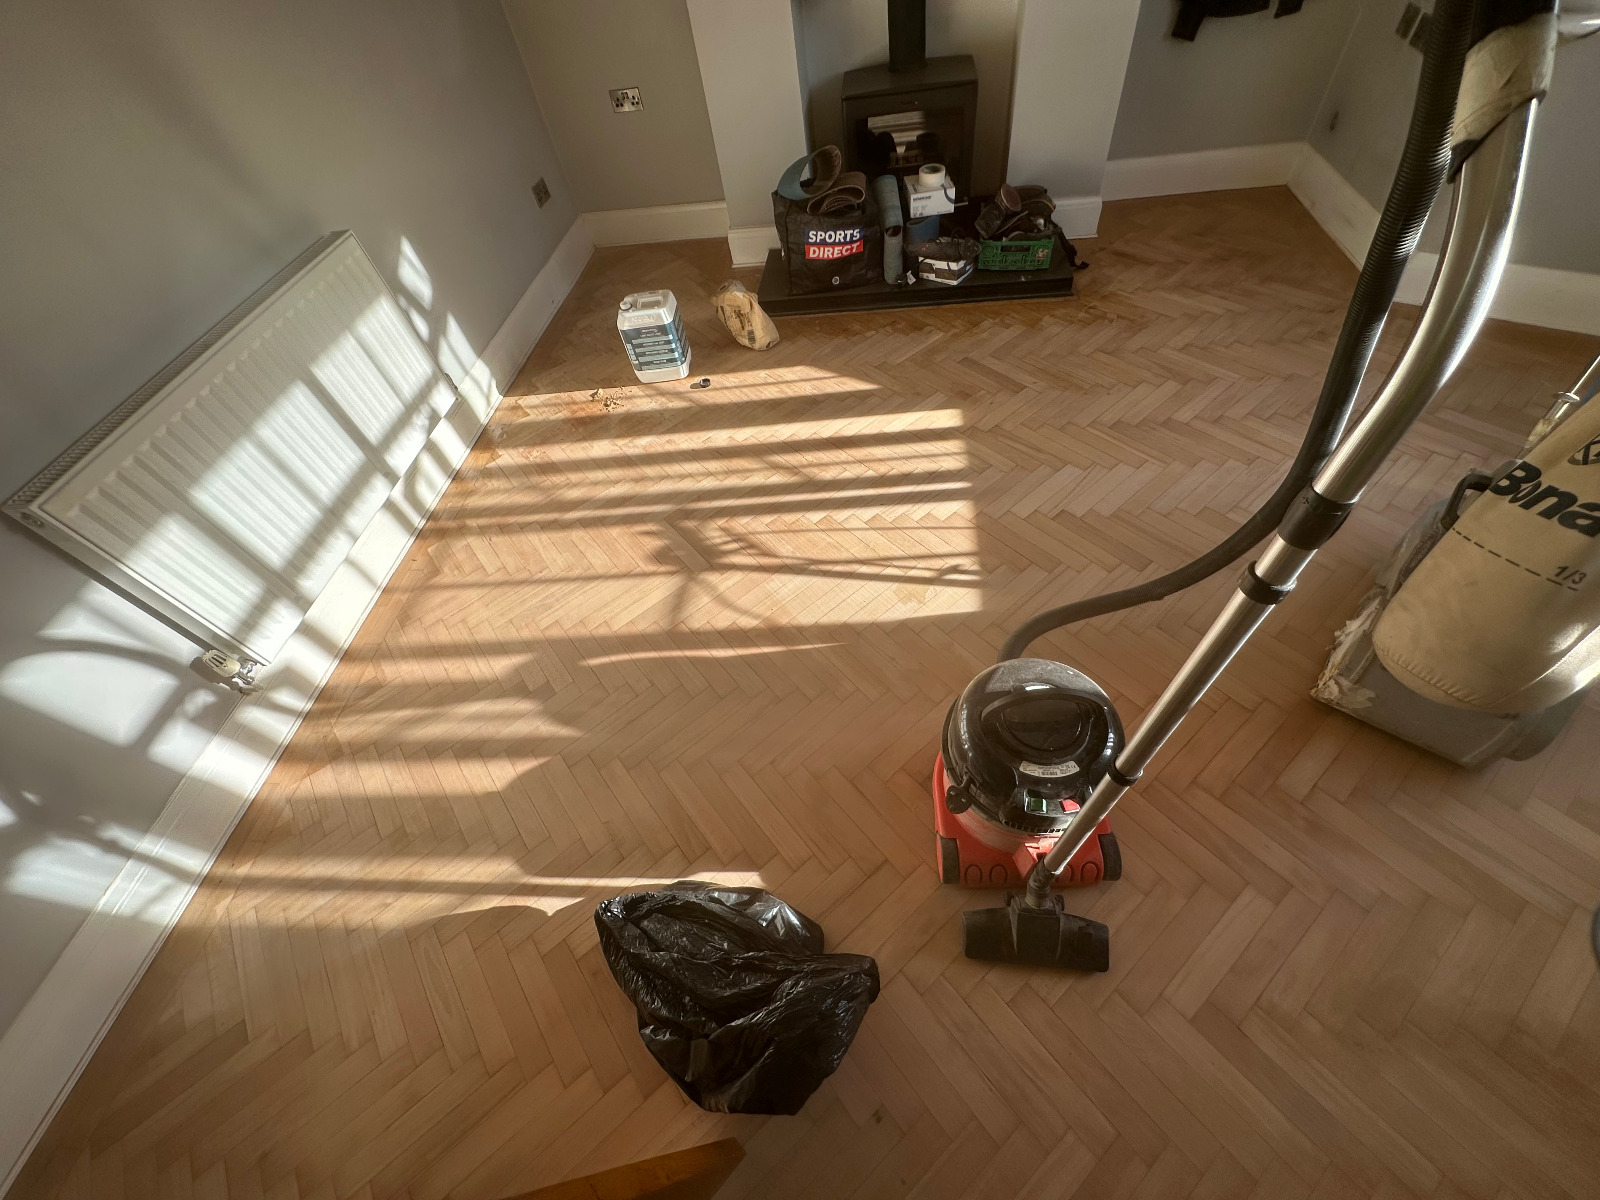
Step 4: Use the correct sanding pattern for parquet (and avoid common mistakes)
Sanding direction: what matters most
On plank floors, sanding with the grain is everything. On parquet, the grain changes direction constantly—so the goal becomes even levelling without tearing fibres or leaving deep directional marks.
A reliable method is:
- Start with a controlled, even pass to remove the finish
- Progress through grits to refine
- Use a buffer to blend and remove visible transitions
Mistake to avoid: “digging in”
Parquet can be unforgiving if the sander is tipped or stopped while running. Keep the machine moving and steady—especially on edges and thresholds.
Mistake to avoid: skipping grits
Skipping from a coarse grit straight to a fine grit saves time… but usually costs you the finish. You’ll trap deeper scratches under the surface and they’ll show once sealed.
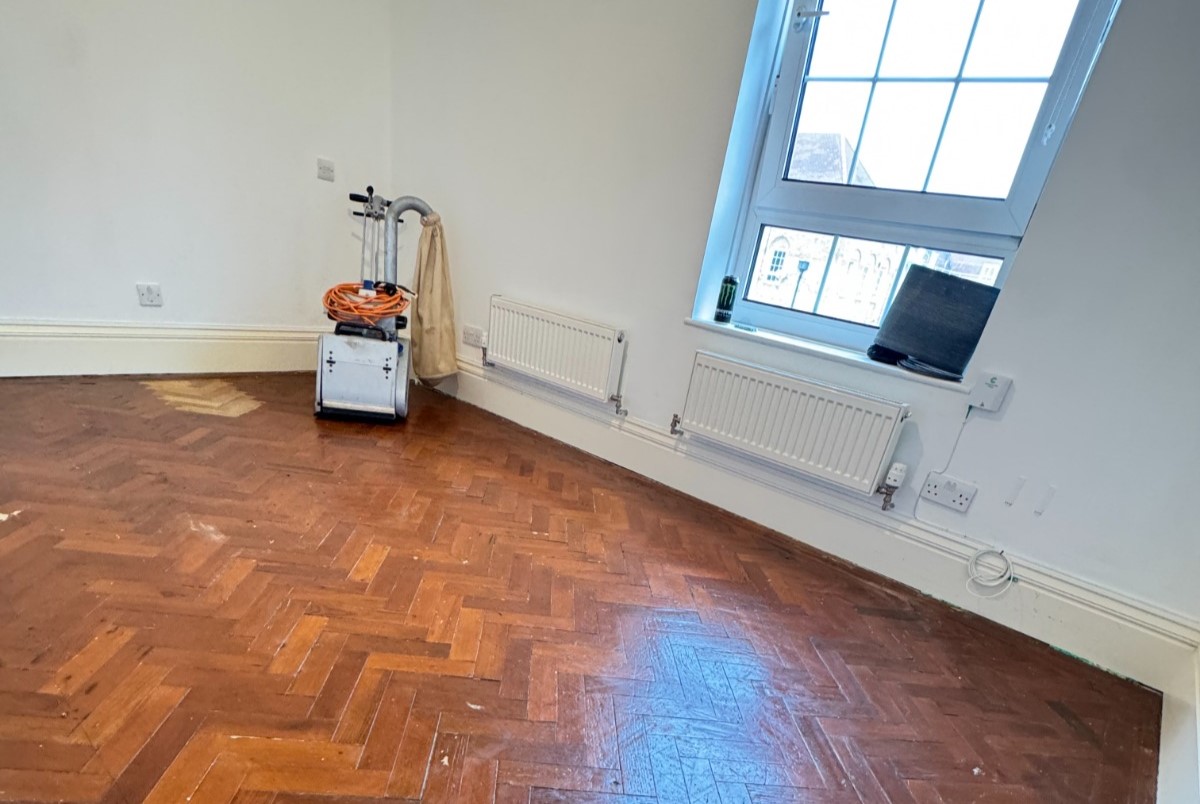
Step 5: Grit progression that produces a truly smooth result
Exact grit choices depend on the condition of the floor and the finish being removed, but a typical parquet floor sanding progression looks like:
- Coarse cut (to remove old lacquer/varnish and level): e.g., 24–40 grit
- Mid cut (to remove coarse scratches): e.g., 60 grit
- Fine cut (to refine ready for finishing): e.g., 80–100 grit
- Buffing pass (screen/mesh or pad system): e.g., 100–120 equivalent
The goal isn’t “as smooth as glass” before finishing—it’s uniform scratch consistency across the entire floor, including edges.
Step 6: Edge sanding and blending (where many DIY jobs fall down)
Edge areas are where amateur parquet sanding most often looks messy, because:
- The edging sander leaves a different scratch pattern
- Corners can become over-sanded or rounded
- Transitions between field and edge can show as “halos”
How to get seamless blending
- Match grit progression on the edging sander to the main area
- Feather the edge area slightly into the field
- Use a buffer to blend everything into one consistent surface
If your parquet includes tight corners, alcoves or fireplace surrounds, this step is where skilled technique makes a visible difference.
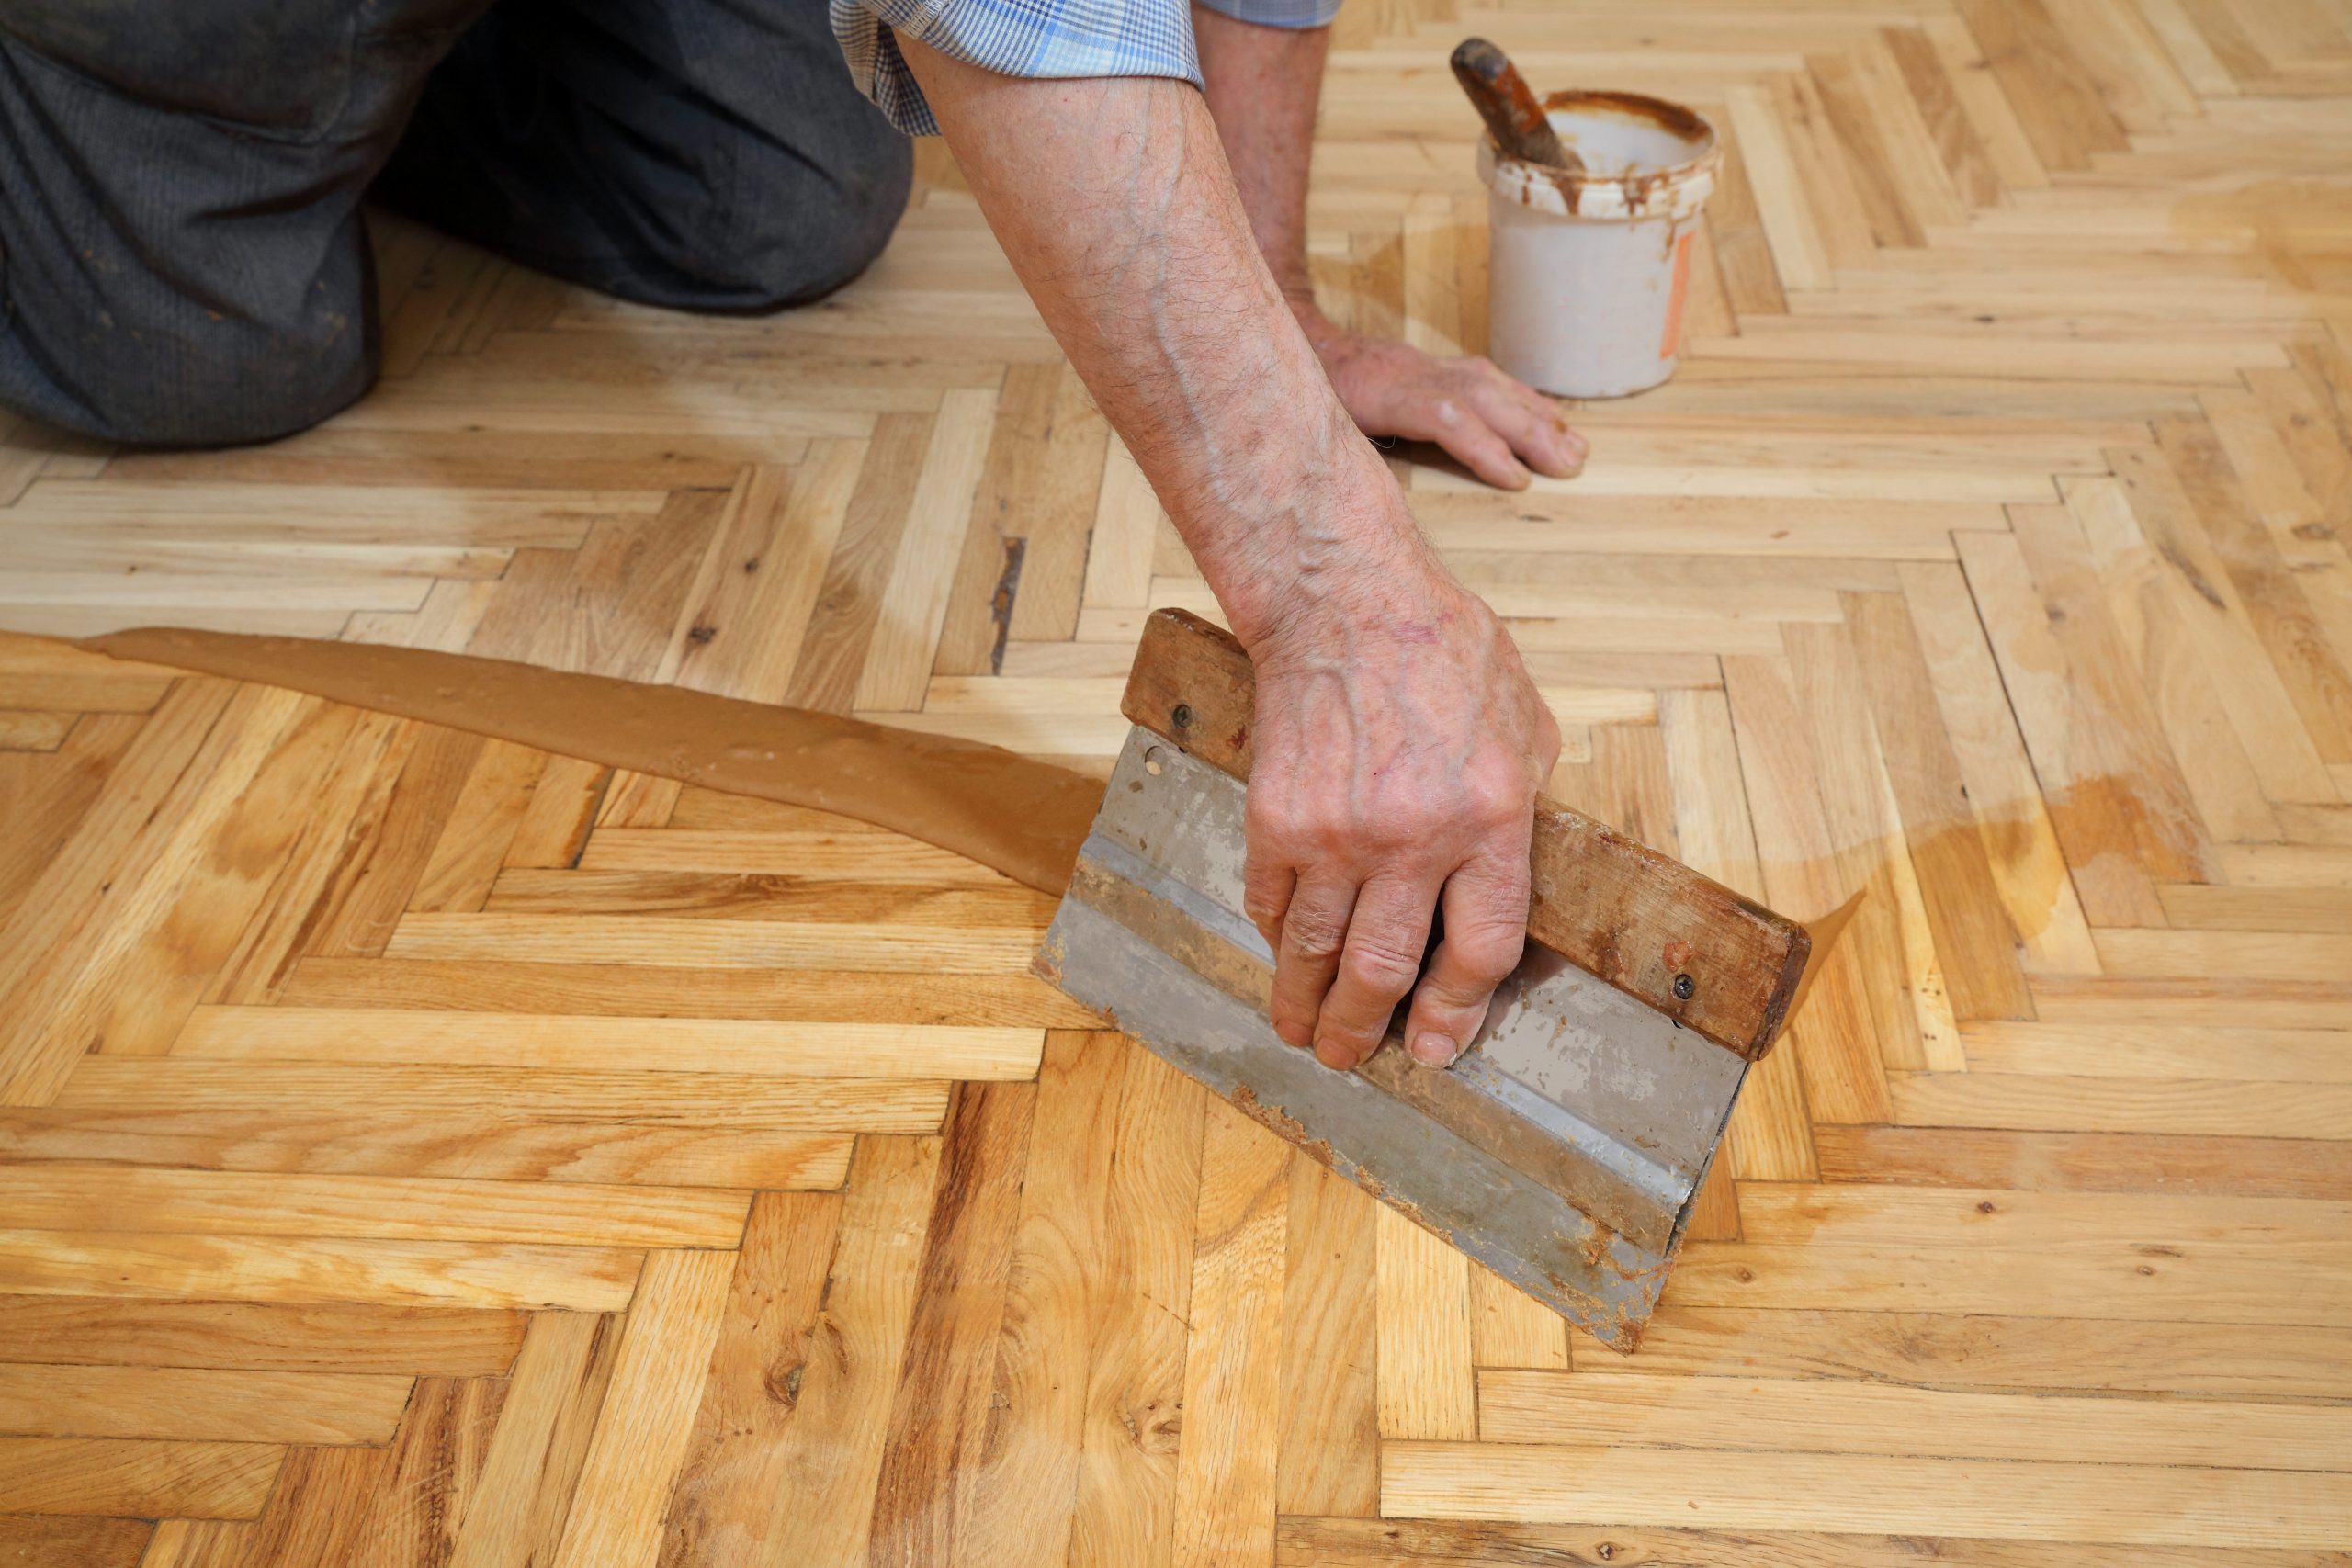
Step 7: Gap filling (optional, but often worth it)
Parquet naturally has micro-gaps. Some homeowners love the authentic look; others want a cleaner, more uniform appearance. Either is fine—what matters is choosing the right approach.
Common gap-filling options
- Resin + fine sawdust mix for hairline gaps and small imperfections
- Slivers (timber strips) for wider gaps where filler would crack
- Flexible solutions for movement-prone areas
If you’re planning a colour change, staining, or a high-sheen finish, gap filling can dramatically improve the final look. You can explore options and typical pricing considerations here: Staining / Dyeing and Gap Filling.
Step 8: Vacuum like your finish depends on it (because it does)
Between the final sanding pass and finishing:
- Vacuum slowly and thoroughly (including edges and corners)
- Use a soft brush attachment where needed
- Wipe with a microfibre cloth (lightly—don’t soak the wood)
Any remaining dust becomes texture in your finish. That can lead to roughness, tiny bumps, or a cloudy look.
Step 9: Choosing the right finish for parquet (lacquer vs hardwax oil vs oil)
Your finish choice determines:
- How the floor looks in daylight
- How it handles wear
- How easy it is to maintain
- How repairs are done later
Option A: Lacquer (great for busy homes and commercial spaces)
Modern water-based lacquers can be tough, clear, and low-odour.
Best for: families, rentals, hallways, commercial settings
Look: clean, crisp, consistent sheen
Maintenance: recoat before it wears through
If durability is your top priority, consider a hard-wearing system such as High Traffic Lacquer.
Option B: Hardwax oil (warm, natural look with practical durability)
Hardwax oil penetrates and leaves a protective surface that looks rich and natural.
Best for: heritage homes, natural finishes, repairable systems
Look: warm, softer sheen
Maintenance: periodic refresh coats rather than full sanding (in many cases)
You can see finish upgrade options like Hardwax / Oil coats.
Option C: Traditional oil (beautiful, but needs more maintenance)
Oiled floors can look stunning, but they do require consistent care.
Best for: homeowners happy to maintain regularly
Look: deep, natural tone
Maintenance: more frequent top-ups
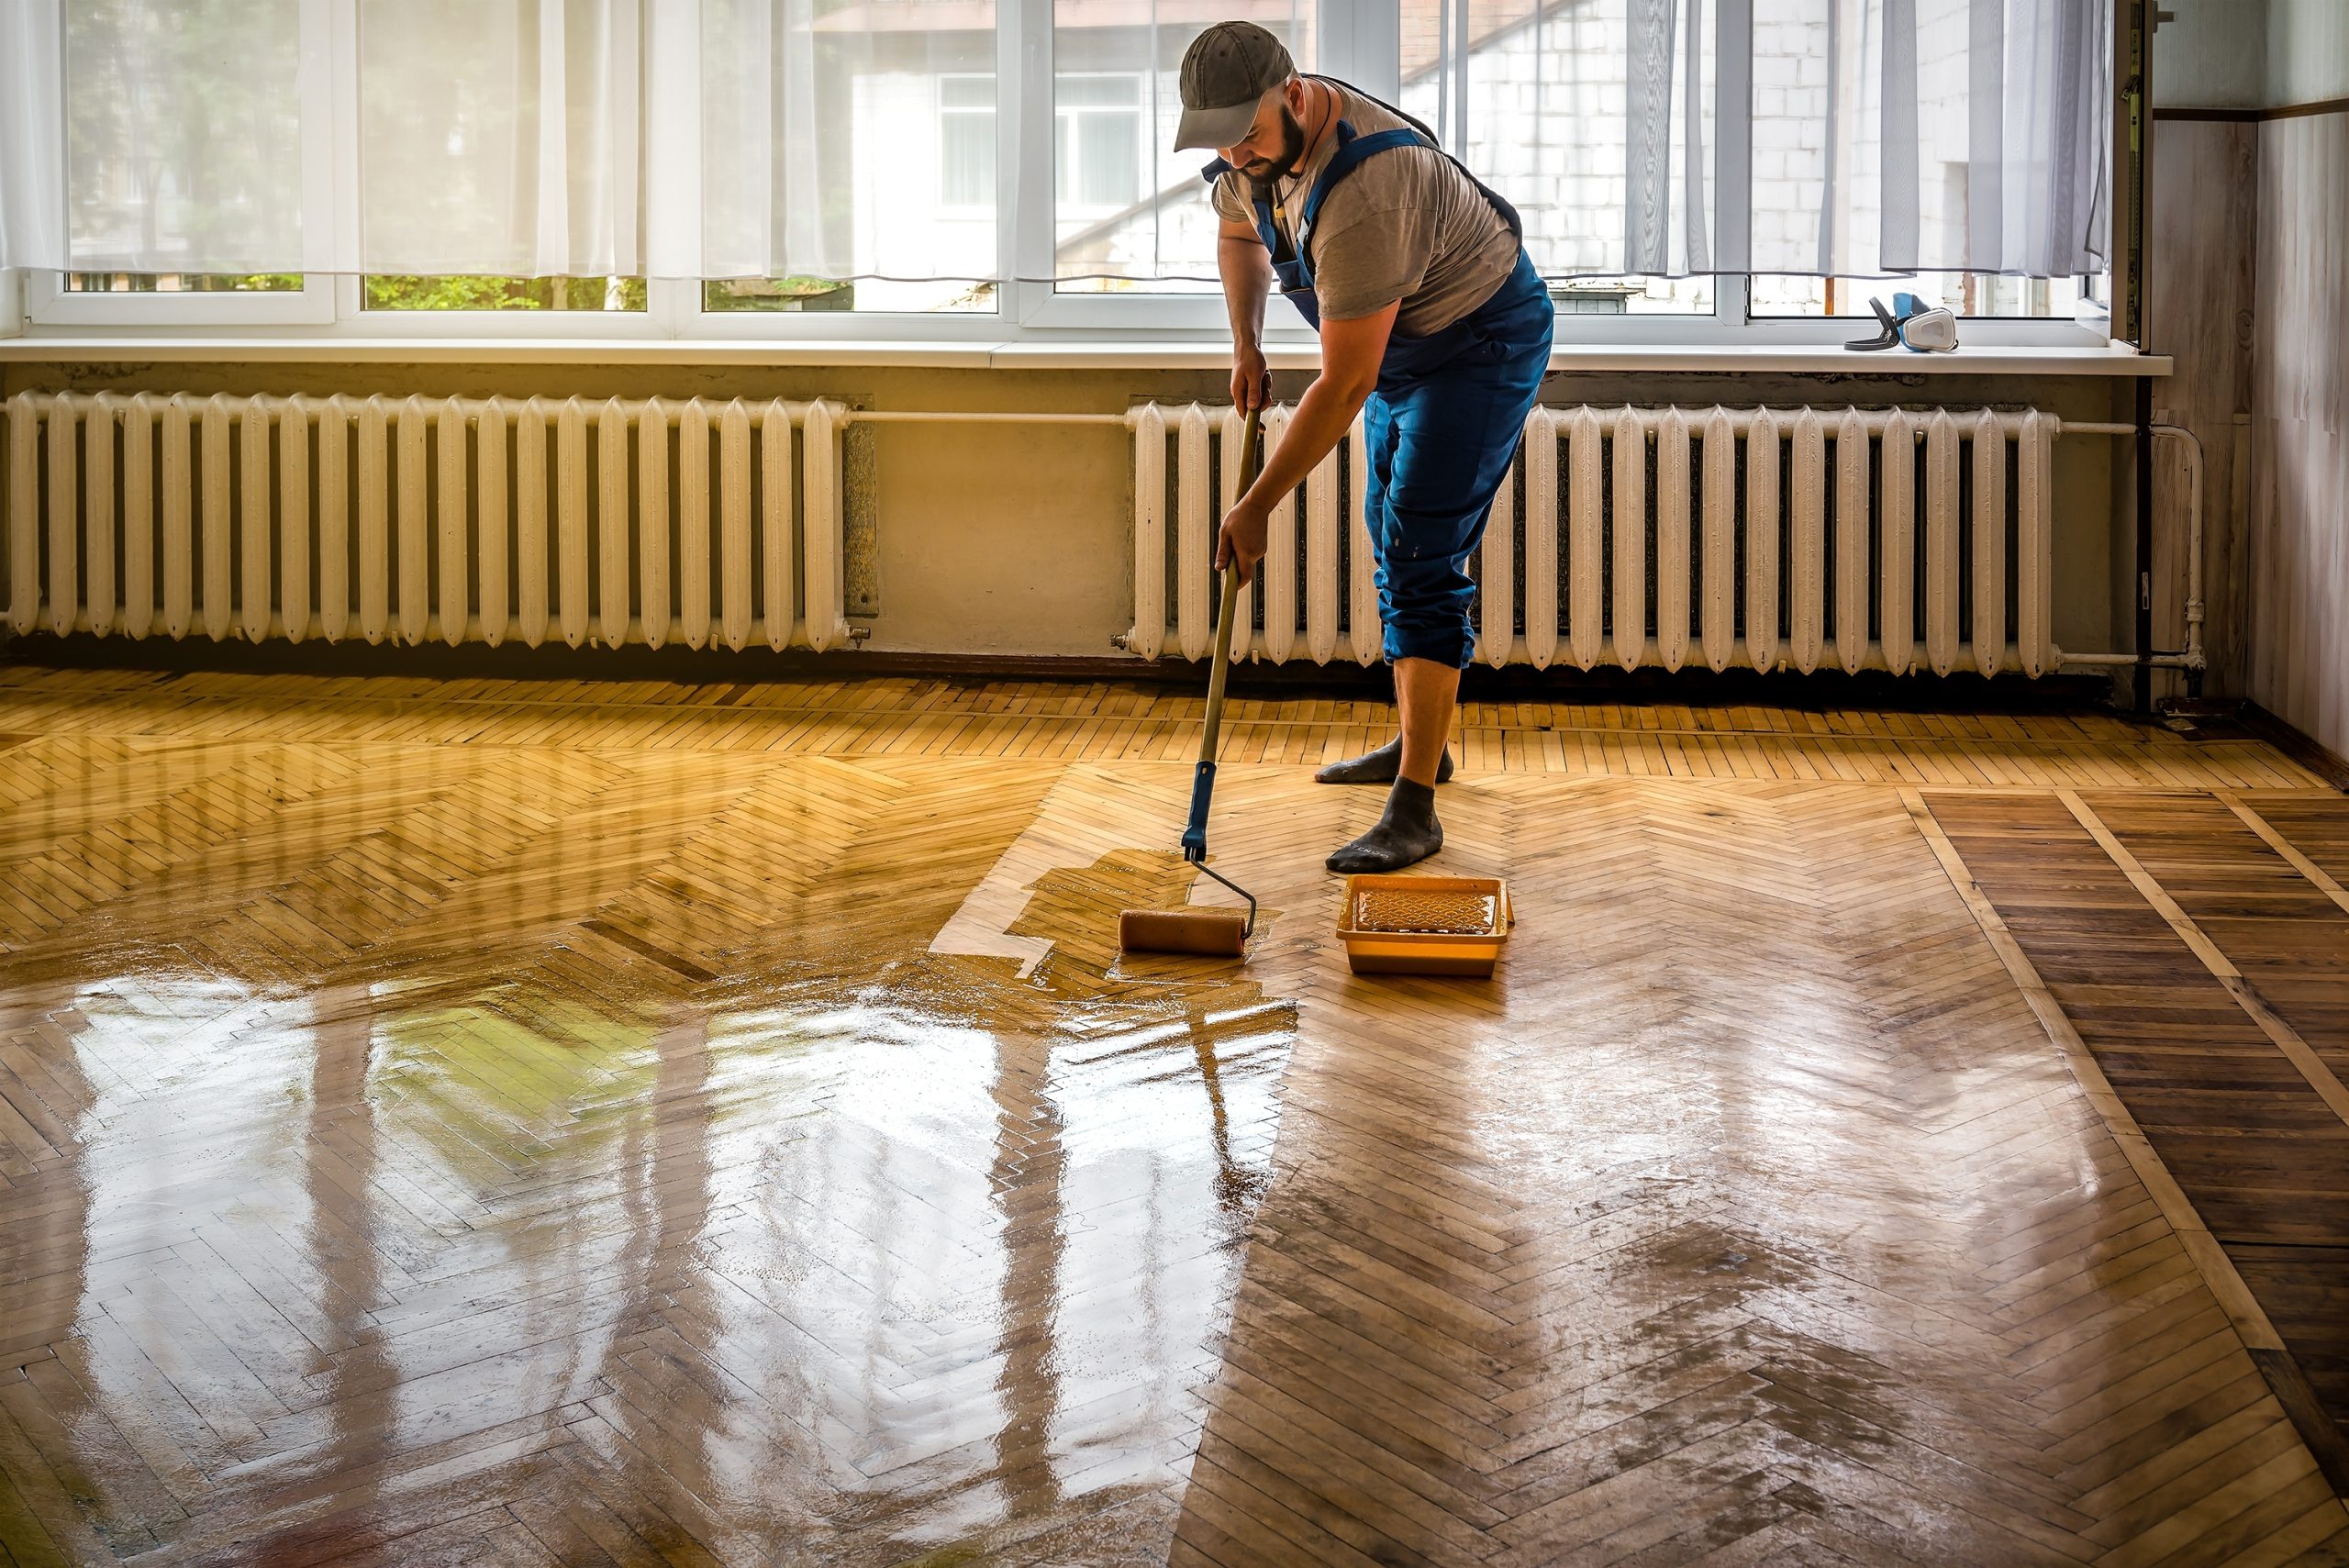
Step 10: Application tips for a smooth, dust-free finish
No matter the finish type, these rules help you avoid marks, lap lines and roughness:
Keep coats thin and even
Thick coats can:
- trap dust
- dry unevenly
- exaggerate roller marks
Maintain a clean environment
- Close windows during application (to reduce airborne debris)
- Avoid walking through while coats are curing
- Keep pets out completely
Sand lightly between coats (when appropriate)
Many lacquer systems benefit from a light de-nibbing between coats to remove dust nibs and ensure a silky finish.
Respect drying and curing times
Dry-to-touch isn’t the same as fully cured. Treat the floor gently for the first few days, especially in high-traffic areas.
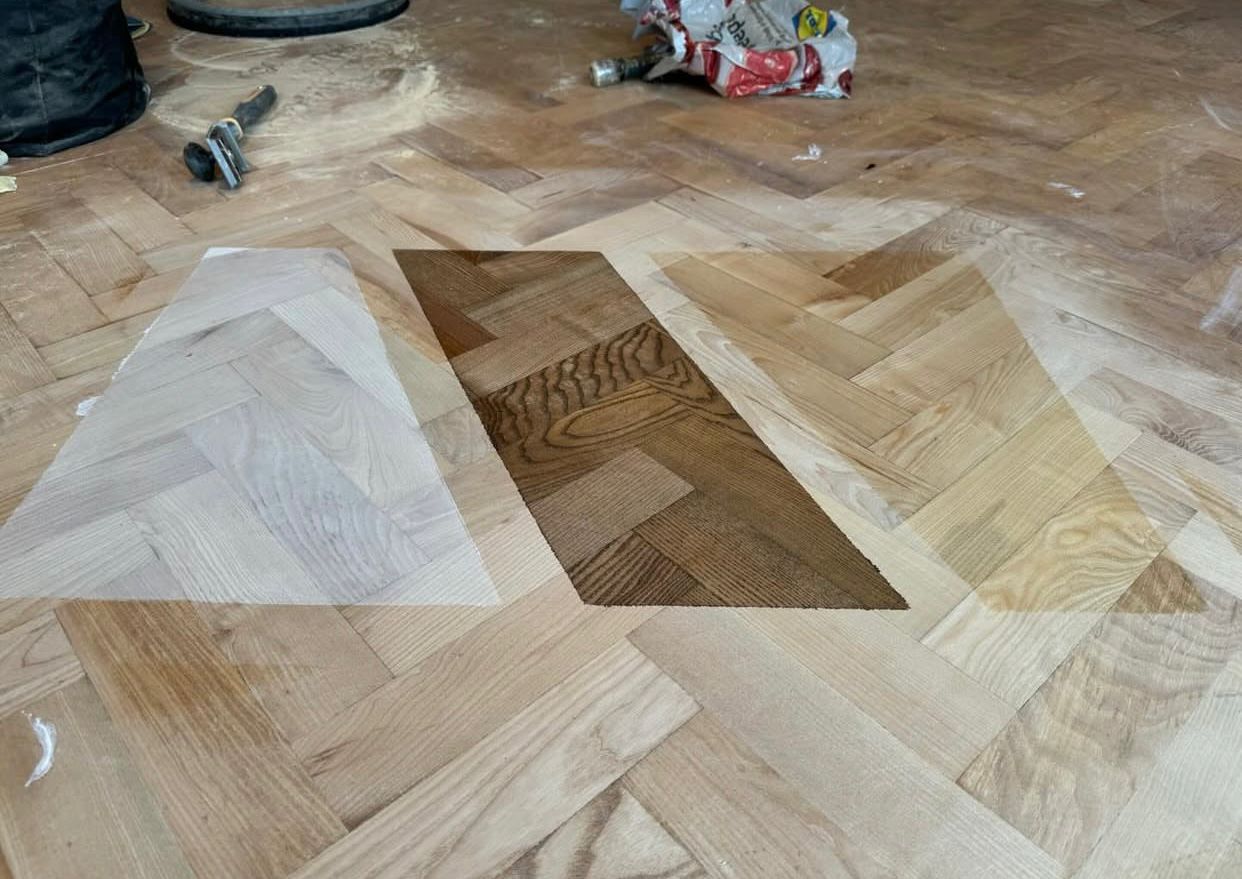
Step 11: Colour changes, staining and liming (how to avoid blotches)
Colour work on parquet looks incredible—but it requires care.
For staining:
- Ensure sanding is perfectly even (stain highlights sanding inconsistencies)
- Test colour in a small area first
- Consider professional application if you want a flawless, uniform tone
For liming/whitening:
- Parquet can take liming beautifully, especially oak
- The look is modern and bright, but surface prep must be immaculate
If you’re exploring these options, see Lime Washing / Whitening and Staining / Dyeing.
Step 12: Aftercare that keeps parquet looking new
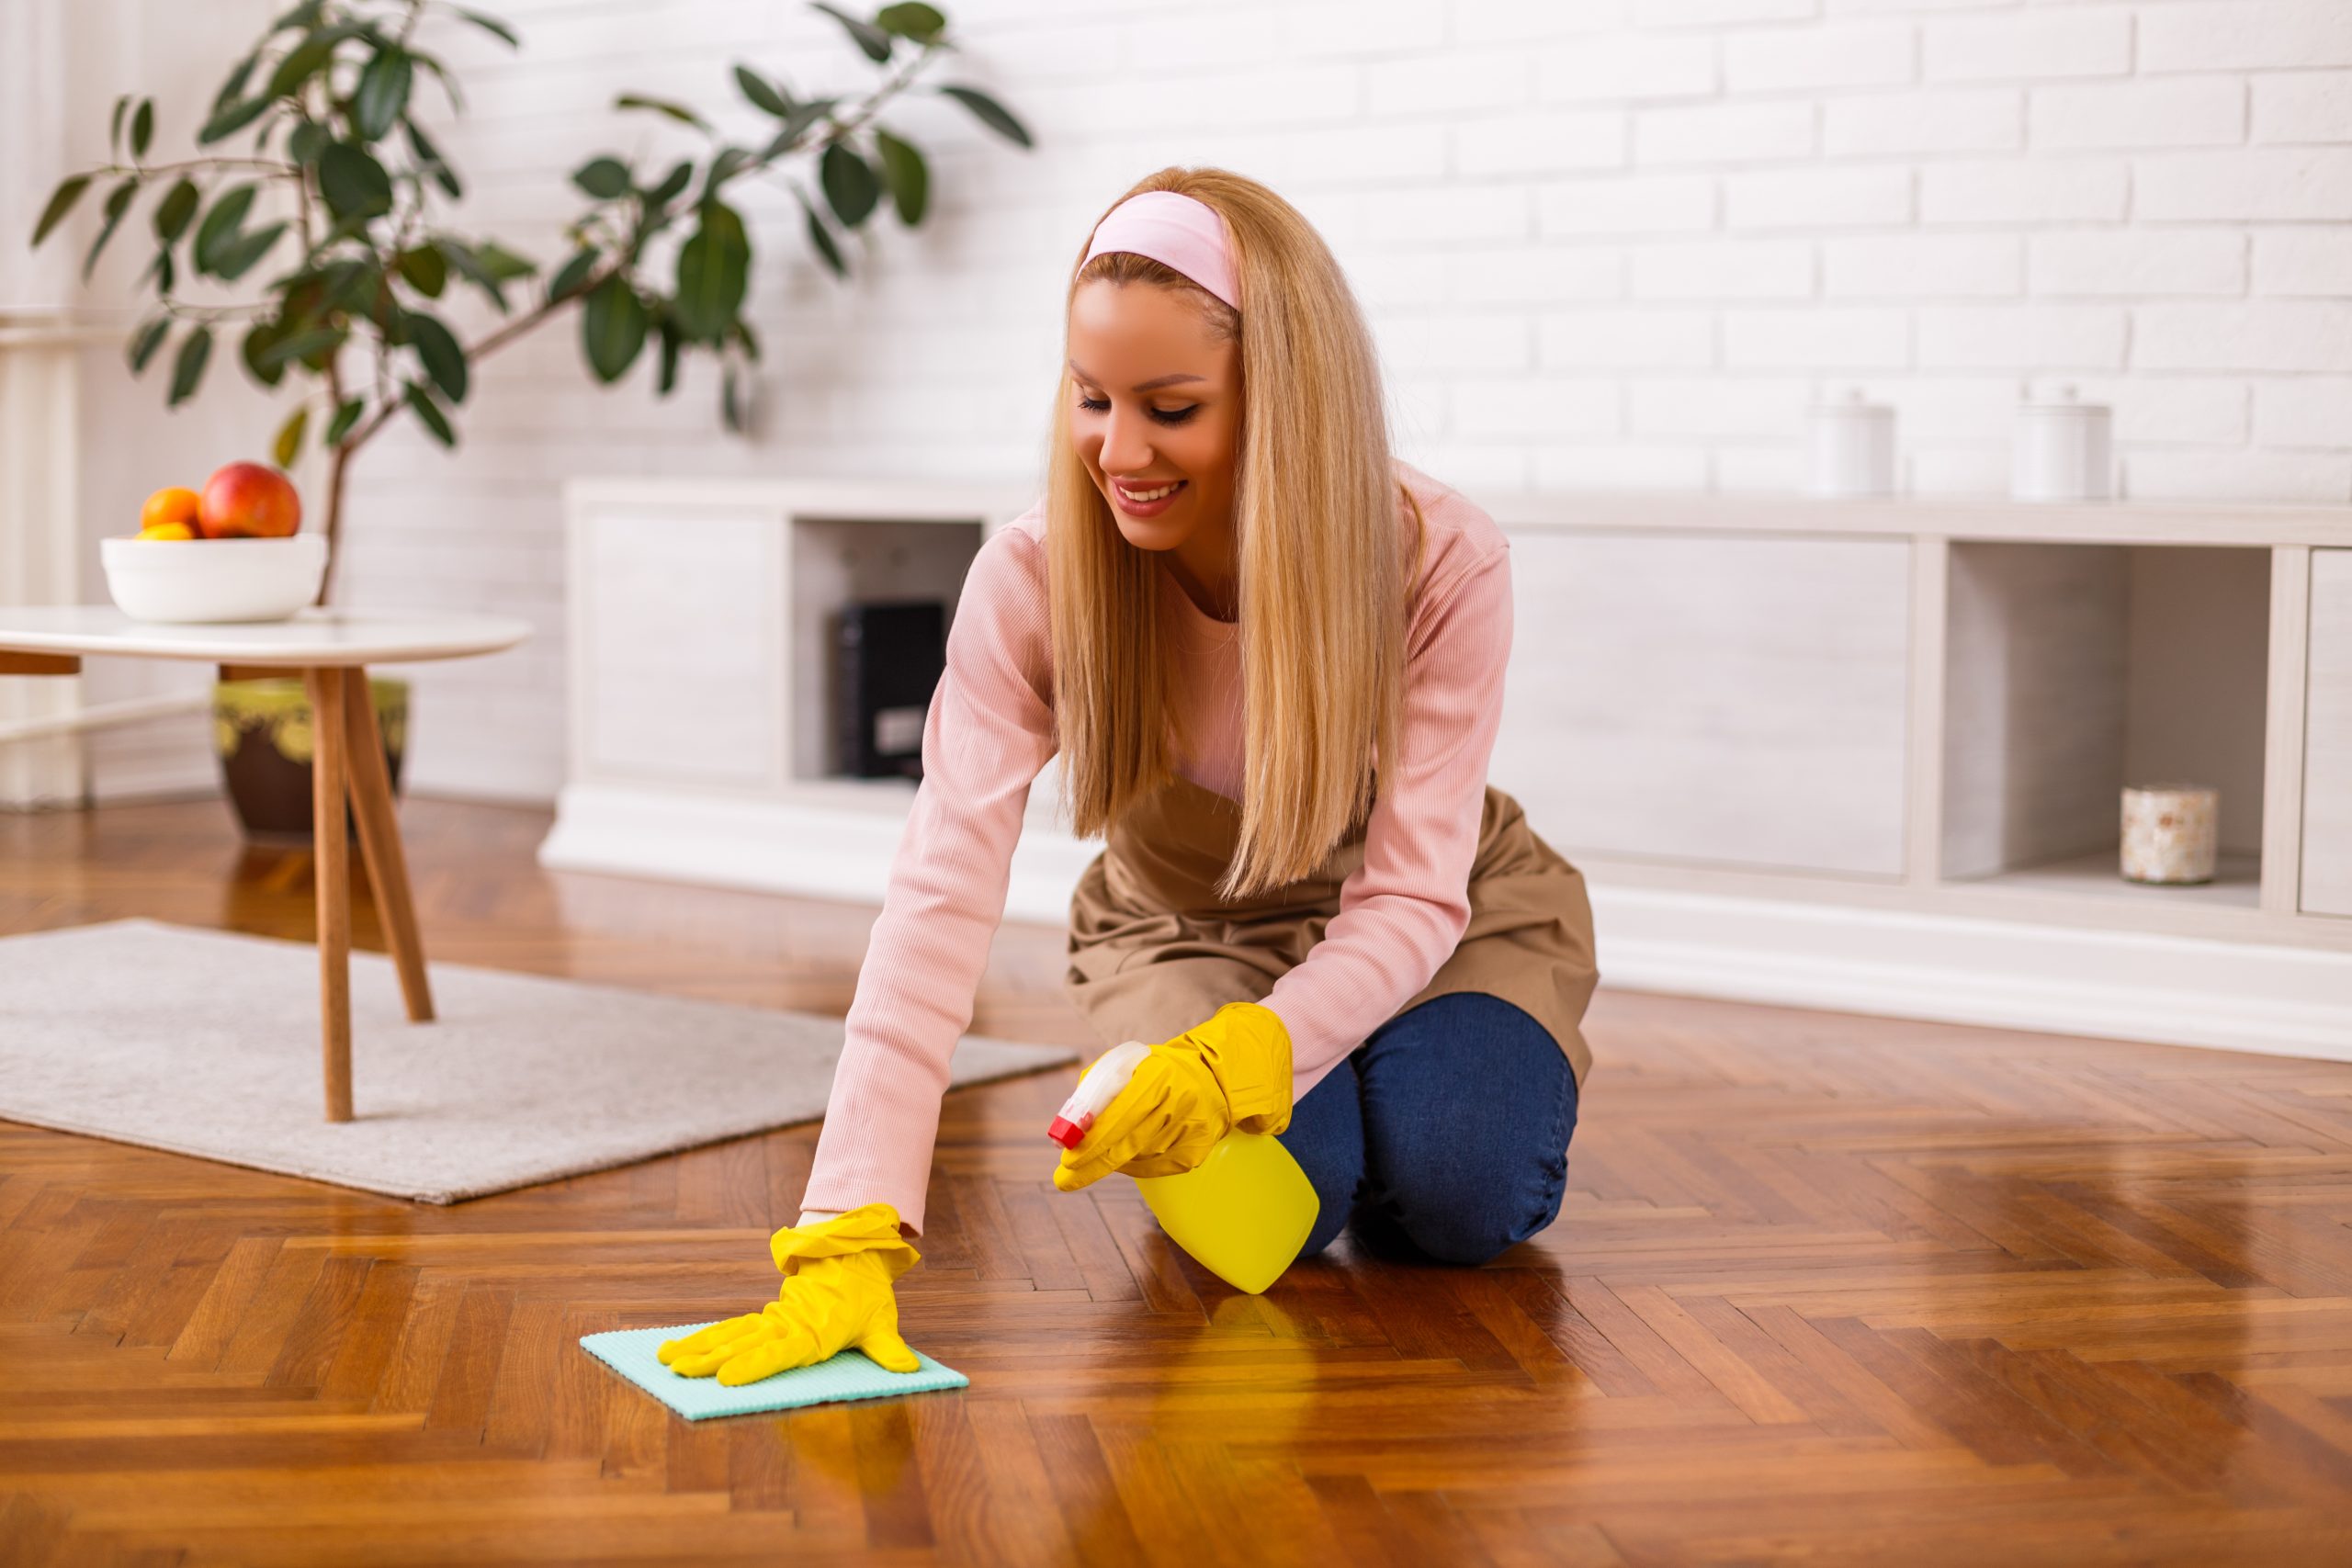
A fresh parquet floor sanding job can look stunning for years—if you protect it properly.
Do this:
- Use felt pads on furniture legs
- Place mats at entrances (but avoid rubber-backed mats)
- Sweep/vacuum regularly (grit is the enemy)
- Clean with a wood-safe, neutral product (not harsh detergents)
Avoid this:
- Steam mops (moisture + heat = trouble)
- Wet mopping (too much water can swell edges)
- Silicone-based polishes (can interfere with recoating later)
If your floor ever develops light scratches again, a maintenance approach may help before you consider re-sanding. You might find this useful too: Grief Over Scratches? Wax Away the Pain.
DIY vs professional parquet floor sanding: how to decide
DIY can work for small, simple rooms if you’re confident, patient, and prepared. But parquet is one of the easiest floors to get “nearly right” and still end up with visible issues like swirl marks, edge halos or uneven colouring.
Professional sanding is worth considering if:
- The parquet is uneven, loose, or heavily worn
- You want staining/colour change
- You need a truly dust-controlled process
- The room is large, open-plan, or high-visibility
To price up your specific floor, use Get a Quote (you can even upload a photo), or if you prefer a quick chat first: Request a Callback.
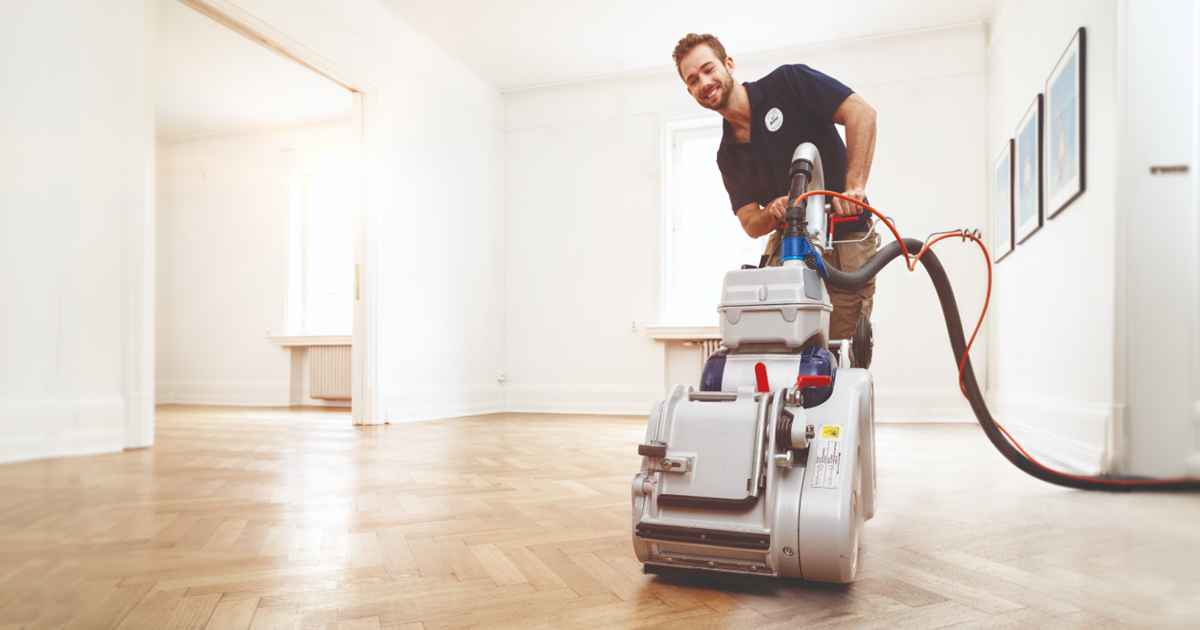
Real-world results: what “good” looks like
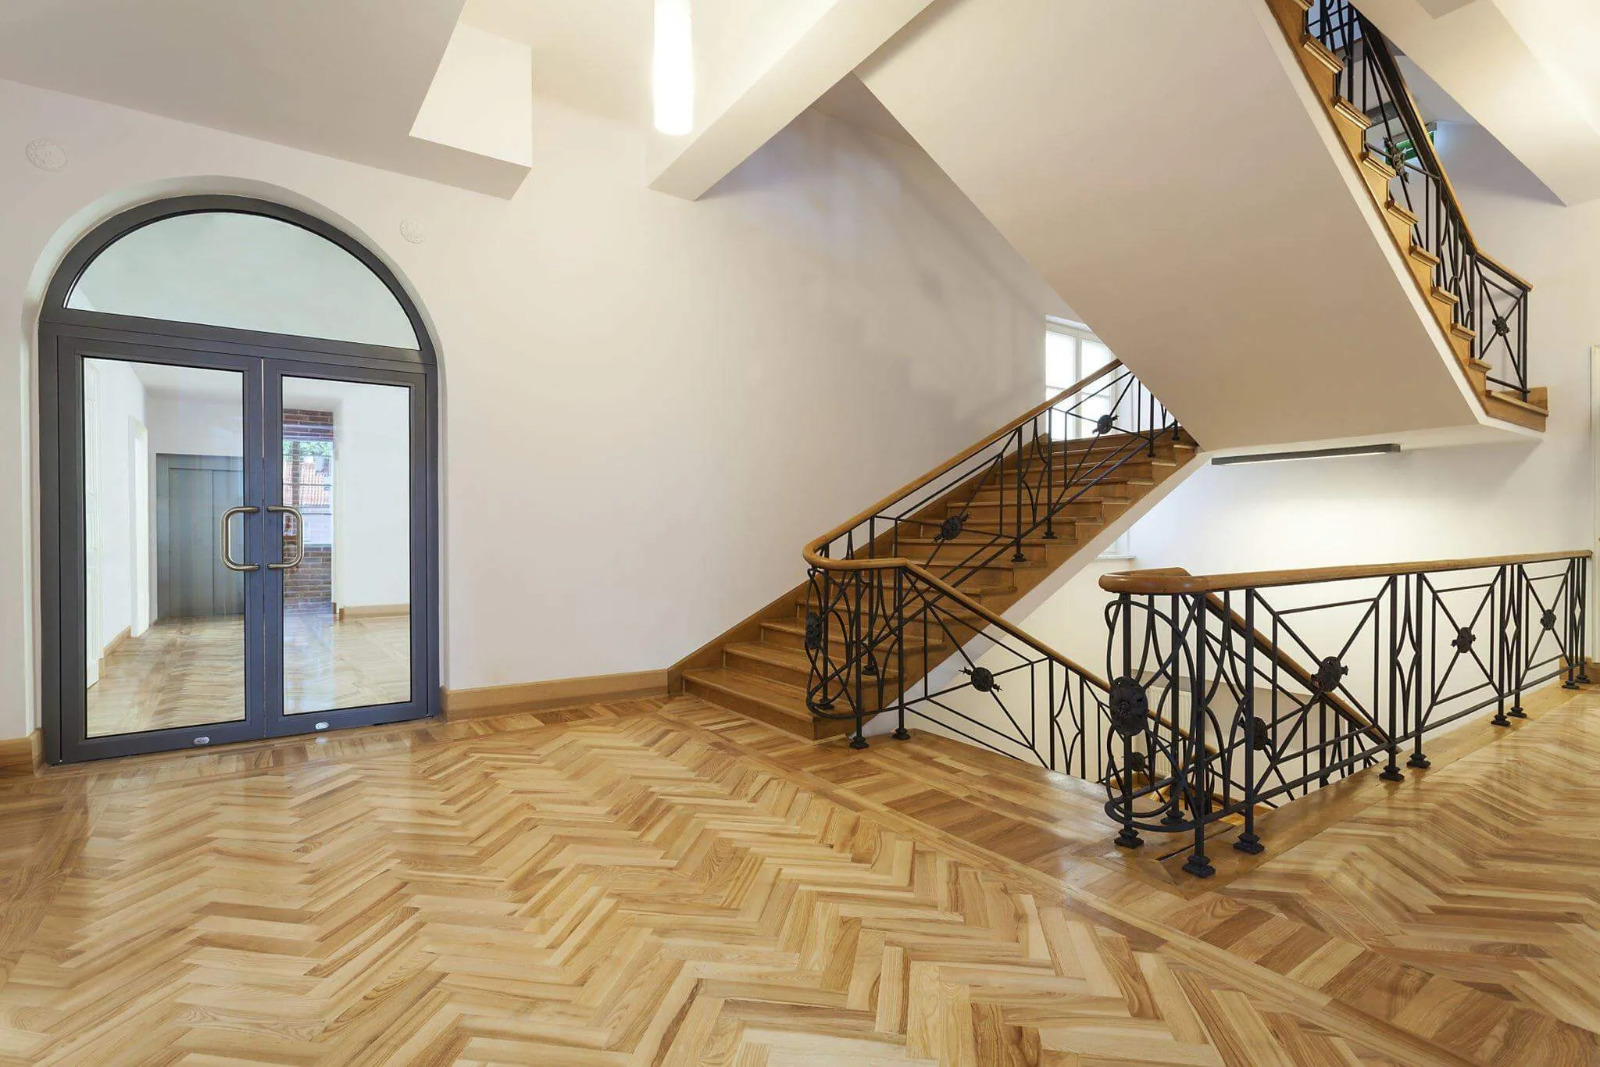
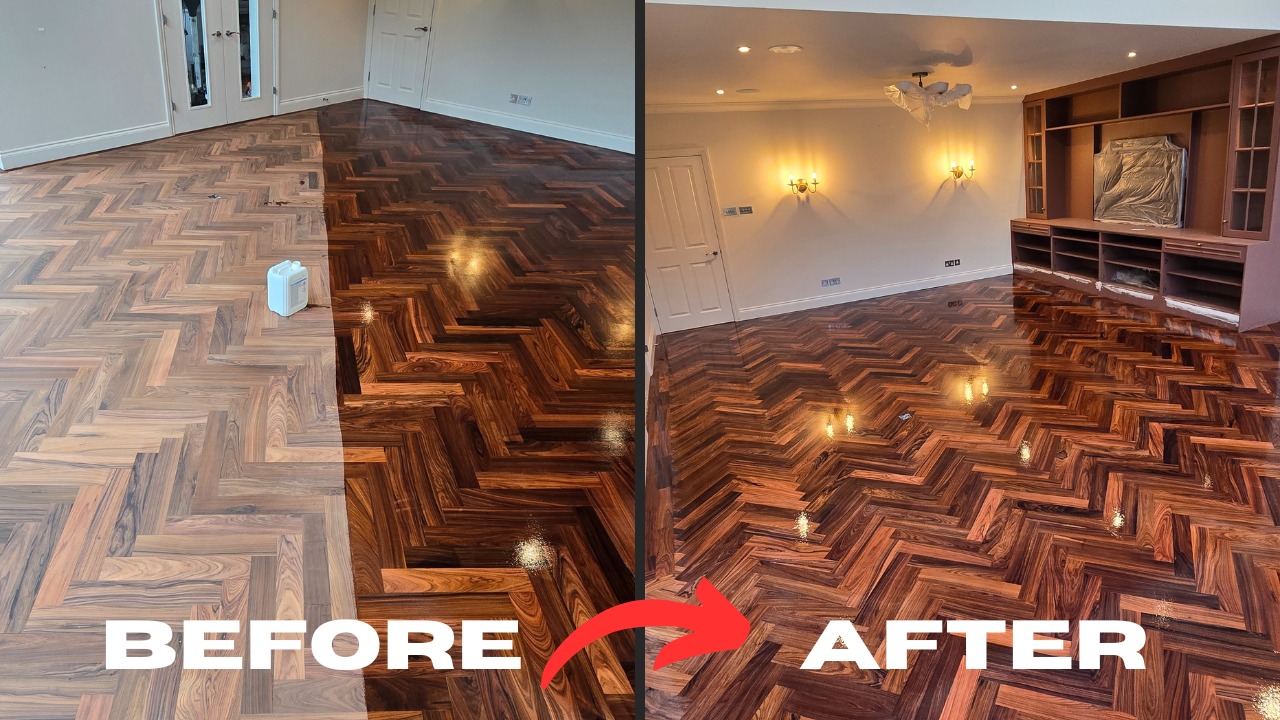
A great parquet floor sanding result should look like this:
- Smooth and even in daylight (no obvious swirl marks)
- Uniform sheen (no patchiness, no dull islands)
- Clean edges that blend seamlessly into the field
- A finish that suits your home’s traffic and style
If you want inspiration, browse the Before & After Gallery.
Ready for a smooth, dust-free parquet finish in Egham?
If your parquet is looking tired, scratched or patchy, a proper sand and refinish can transform it—often faster than people expect, and with minimal disruption when done with modern dust-control methods.
- Check guidelines and upgrade options: Prices
- Book a fast quote: Get a Quote
- Prefer a call back? Request a Callback
- Speak to the team: Contact Us
Or call 01784 530 015.